Oct 09, 2026 · Pop-Ups & Retail
Pop-Up Shop Build-Out: The Six-Week Timeline to Opening
The six-week retail build-out week by week: site survey and shop drawings, landlord approvals, fabrication and finishes, the dry fit that protects opening day, and the install sequence that closes the punch list.
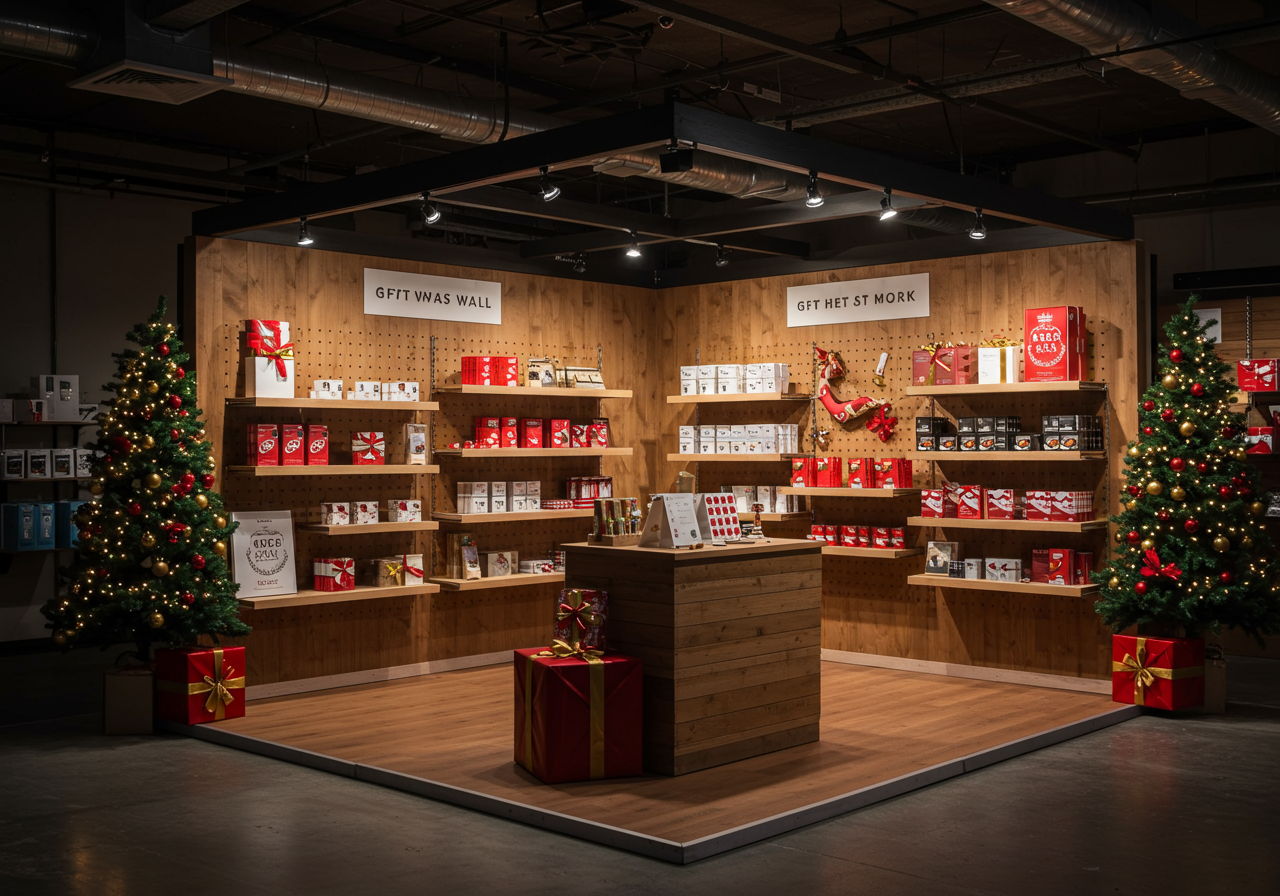
A pop-up shop build-out runs about six weeks from signed brief to opening day: two weeks for site survey, shop drawings and landlord approvals, two weeks of fabrication, one week for dry fit, fixtures and finishes, and one week for load-in, install and the punch list. Compress the wrong week and the store opens unfinished.
That shape is not arbitrary. It is what the trades take when the work is done once, in sequence, under one roof. Pop Up Your Brand has delivered retail pop-ups on exactly this clock, including the 2,400 sq ft holiday pop-up we built for Primark near its Herald Square flagship, delivered in six weeks with the Thanksgiving holiday inside the window. What follows is the timeline week by week: what has to be true at the end of each one, and which dates move when something slips.
What a Pop-Up Shop Build-Out Includes
A pop-up shop build-out is everything between an empty space and a store that can take a customer. That is more than walls and a sign. It is the freestanding wall systems that define the room, the fixtures that hold product at the right height, the cash wrap, the window and facade treatment that pulls people off the sidewalk, the graphics, the lighting package, the back-of-house concealment, and the hardware that lets all of it come apart again without damaging the landlord’s finishes.
Almost none of it is standard millwork. Retail pop-ups are temporary by definition, so the build has to survive crating, a tight load-in and a strike, while reading on camera as permanent. That double requirement — demountable construction, permanent-looking finish — is the single biggest driver of how long a build-out takes. Our pop-up shop design and fabrication work starts from it rather than discovering it in week five.
The six-week clock assumes one shop owns design intent, engineering, fabrication and install. Split those across a designer, a general contractor and a separate fixture vendor and the same scope stretches, because every hand-off adds an approval cycle and a round of as-builts that nobody owns.
| Week | What happens | What must be true at the end |
|---|---|---|
| One | Site survey, measured as-builts, design development, landlord package started | Verified dimensions; power, access and restoration rules known |
| Two | Shop drawings, engineering review, finish and material approvals, long-lead orders placed | Drawings signed; landlord approval in hand; nothing left to specify |
| Three | CNC cutting, carpentry, metal fabrication, print production begins | Every wall panel, fixture carcass and sign blank cut and assembled |
| Four | Paint, lamination, graphics application, lighting and LED integration | Finishes complete; electrical pre-wired and bench-tested |
| Five | Dry fit in the shop, shop punch, pack and crate by install sequence | Everything has been stood up once and labeled for load-in order |
| Six | Load-in, install, merchandising support, punch list, cleaning | Store complete, punch closed, space ready to stock and open |
Weeks One and Two: Survey, Drawings and Approvals
The first two weeks produce no sawdust and decide the whole schedule. Everything built later is cut to numbers captured now, and a wrong number in week one becomes a rebuilt wall in week six.
The Site Survey That Sets the Schedule
We measure the space ourselves rather than working from a landlord’s lease drawing, because lease plans are drawn for leasing. Out-of-square walls, a column that is three inches off plan, a slab that falls half an inch across a storefront: each one changes how a wall system is panelized and whether a fixture needs a shim rail at its base.
The survey also captures the facts that govern logistics rather than geometry. Where the dock or curb cut is. Whether the door swing or the freight elevator sets the maximum panel size. What the electrical service actually supports, and how many circuits reach the window. When the building permits work and whether install has to run overnight. The raw white-box SoHo storefront we built out for the Celsius pop-up came with limited electrical capacity and a tight load-in access route, and both facts were designed around at this stage, not discovered on install day.
Landlord and Property Approvals
Approvals run in parallel with design, and they are the most common reason a six-week build-out becomes a seven-week one. Property teams want to see what touches their building: attachment methods, fire ratings on finish materials, insurance certificates, install and strike windows, and a restoration plan proving the space returns the way it was found. Mall and managed-property landlords typically ask for more, and ask earlier, which is why we treat the approval package as a week-one deliverable. The requirements themselves are covered in our guide to mall pop-up fabrication and landlord buildout rules.
Week two ends with signed shop drawings. These are not renders; they are the cut sheets the shop builds from, panel by panel, with dimensions, materials, hardware and finish callouts. Producing them is a discipline of its own, which is why fabrication drawings get their own review before anything is cut. Long-lead items — custom lighting, specialty laminates, refrigerated display units, anything with a lead time longer than the build — are ordered the same day the drawings are signed.
Weeks Three and Four: Fabrication
Fabrication is two weeks because the trades overlap rather than queue. Sheet goods go to CNC while the metal shop builds armatures and the print department runs graphics, and the paint booth takes parts as they come off the bench instead of waiting for a complete store.
Week three is structure. Wall panels get cut and framed with cleat systems so they can be hung and pulled without fasteners into the landlord’s drywall. Fixture carcasses get built with adjustable shelf standards, because merchandising plans change after the first stock day and a fixed shelf height becomes a problem nobody has time to fix. Sign blanks, letters and dimensional elements get routed. Anything carrying load — a gondola, a tall product wall, a facade element — gets a welded or reinforced armature rather than a stiffened box.
Week four is finish and electrical. Scenic painters put down the sealer, color and topcoat schedule that makes a plywood carcass read as lacquered retail millwork, and sample chips get approved against the brand’s actual palette under the lamp type the space uses. Graphics are laminated and applied on the bench, where a bubble can be pulled and reapplied, instead of on a wall at midnight. Lighting is integrated and bench-tested: drivers mounted and labeled, runs pre-wired to a single connection point, dimming confirmed. Fixture design is where merchandising and fabrication meet, and the trade-offs are worth reading about on their own in our pop-up shop fixtures guide.
Pre-wiring in the shop is what makes a tight install possible. On the Celsius storefront, the 1,800 sq ft build ran six weeks of fabrication against a three-day install window, with the wall systems, the LED-backlit photo moment and the sampling bar engineered for rapid assembly precisely because the site could not absorb a long electrical day.
Week Five: Dry Fit, Fixtures and Finishes
Week five is the one most schedules try to delete, and the one that protects opening day. We stand the store up in the shop — walls in their real adjacencies, fixtures in position, signage mounted, lights on — and then walk it with the drawings as a shop punch.
A dry fit catches the things drawings cannot: a reveal that reads uneven under raking light, a cash wrap whose counter height fights the POS hardware, a panel joint that lands in the middle of a logo, a door that clears the floor graphic by nothing. Each of those is a twenty-minute fix on a bench and a half-day emergency on site. Our broader retail activation builds all carry this step for the same reason.
The second half of the week is packing, and packing is a design decision. Parts get crated in reverse install order, labeled to match the install drawing, with hardware bagged to the assembly it belongs to and touch-up paint traveling with its panels. Walls that go up first ride last on the truck. Done properly, the crate list is the install sequence.
Week Six: Load-In, Install and the Punch List
Install is a sequence, not a scramble. Floor protection and layout lines go down first, then the wall systems, then fixtures and the cash wrap, then signage and facade, then lighting aim and graphics touch-in. Reversing any two of those steps means moving finished work twice.
In New York the install window is usually set by the building rather than the brand: after-hours freight elevator access, a loading-zone permit, a dock shared with other tenants, or a landlord who allows noise only between certain hours. Those constraints are why we survey access in week one and why crews size panels to the elevator. The city-specific realities are covered in our New York City fabrication and install work.
The punch list closes before the brand’s merchandising team takes the floor, not after. Caulk lines, touch-up, fastener covers, lamp aim, label alignment, a final clean. The Primark pop-up shop build-out ran this way: facade treatment, gift wall with integrated shelving and spot lighting, gift-wrapping station, photo moment, window displays, checkout counter and lighting package all installed and punched as a single program, so the store team walked into a finished space rather than a construction site.
What Compresses and What Does Not
Six weeks can become four. It cannot become four by asking everyone to hurry; it becomes four by removing work. The honest trade is scope, finish level or custom content — not the approval cycle and not the dry fit.
| Can compress | Cannot compress |
|---|---|
| Fixture variety — repeat one well-built type instead of five bespoke ones | Landlord approval and insurance; the property sets that calendar |
| Finish complexity — a single sprayed color instead of layered patina work | Paint cure and lamination time; coatings dry on their own schedule |
| Custom lighting — stock fixtures in a custom housing instead of fabricated ones | Long-lead items such as refrigeration or specialty laminate |
| Design rounds — one approval gate instead of three | The dry fit; skipping it moves problems onto install day |
What reliably adds a week is late scope: a new fixture type in week four, a brand palette change after paint, a window concept added once the facade is built. What reliably saves one is a brief that arrives with real dimensions, a confirmed install window and a decision-maker who can approve finishes in a day. If you want the design side of this in more depth, our pop-up shop design guide covers concept, layout and spatial planning before the build-out clock starts.
If you have a space, a date and a brief — or just a lease that starts in six weeks — we can tell you quickly what is buildable in the window and what should change. Talk to our team about your pop-up shop build-out and bring whatever you have: a floor plan, a photo of the storefront, a deck. We will tell you where the schedule is real and where it is optimistic.
Frequently Asked Questions
How long does a pop-up shop build-out take?
Plan on about six weeks from signed brief to opening day when one shop handles design, fabrication and install. Two weeks cover the site survey, shop drawings and landlord approvals, two weeks cover fabrication and finishes, the fifth week is the dry fit and crating, and the sixth is load-in, install and the punch list. Split the work across several vendors and the same scope takes longer.
What can be cut to shorten a pop-up build-out?
Remove work rather than rush it. Repeating one well-built fixture type instead of five bespoke ones, choosing a single sprayed finish over layered patina work, using stock lighting in a custom housing, and collapsing three design rounds into one approval gate all buy real time. Landlord approvals, paint cure, long-lead items and the dry fit cannot be compressed.
What does a landlord need to approve before a pop-up build-out starts?
Property teams generally want attachment methods, fire ratings for finish materials, certificates of insurance, confirmed install and strike windows, and a restoration plan showing the space returns as found. Managed properties and malls usually ask for more detail and ask earlier, so the approval package should be assembled in the first week rather than after drawings are finished.
Why does a pop-up shop need a dry fit in the shop?
A dry fit stands the whole store up in the shop before it ships, which catches what drawings cannot show: uneven reveals under raking light, a counter height that fights the point-of-sale hardware, a panel joint landing inside a logo, a door clearing a floor graphic by nothing. Each is a short bench fix instead of a half-day emergency on site.
When should fixtures and graphics be finalized for a pop-up?
Fixture types and graphic content should be locked when shop drawings are signed at the end of week two. Adding a fixture type during fabrication or changing a brand palette after paint typically adds a week, because carcasses are already built and coatings are already sprayed. Shelf positions can stay adjustable, since merchandising plans usually change after the first stock day.
Frequently Asked Questions
Plan on about six weeks from signed brief to opening day when one shop handles design, fabrication and install. Two weeks cover the site survey, shop drawings and landlord approvals, two weeks cover fabrication and finishes, the fifth week is the dry fit and crating, and the sixth is load-in, install and the punch list. Split the work across several vendors and the same scope takes longer.
Remove work rather than rush it. Repeating one well-built fixture type instead of five bespoke ones, choosing a single sprayed finish over layered patina work, using stock lighting in a custom housing, and collapsing three design rounds into one approval gate all buy real time. Landlord approvals, paint cure, long-lead items and the dry fit cannot be compressed.
Property teams generally want attachment methods, fire ratings for finish materials, certificates of insurance, confirmed install and strike windows, and a restoration plan showing the space returns as found. Managed properties and malls usually ask for more detail and ask earlier, so the approval package should be assembled in the first week rather than after drawings are finished.
A dry fit stands the whole store up in the shop before it ships, which catches what drawings cannot show: uneven reveals under raking light, a counter height that fights the point-of-sale hardware, a panel joint landing inside a logo, a door clearing a floor graphic by nothing. Each is a short bench fix instead of a half-day emergency on site.
Fixture types and graphic content should be locked when shop drawings are signed at the end of week two. Adding a fixture type during fabrication or changing a brand palette after paint typically adds a week, because carcasses are already built and coatings are already sprayed. Shelf positions can stay adjustable, since merchandising plans usually change after the first stock day.