Sep 12, 2026
Shop Previews & Punch Lists: Event Fabrication QA
Before a custom build ships, it gets fully assembled in the shop and walked with a punch list. How event fabrication QA works, and what to demand from your vendor.
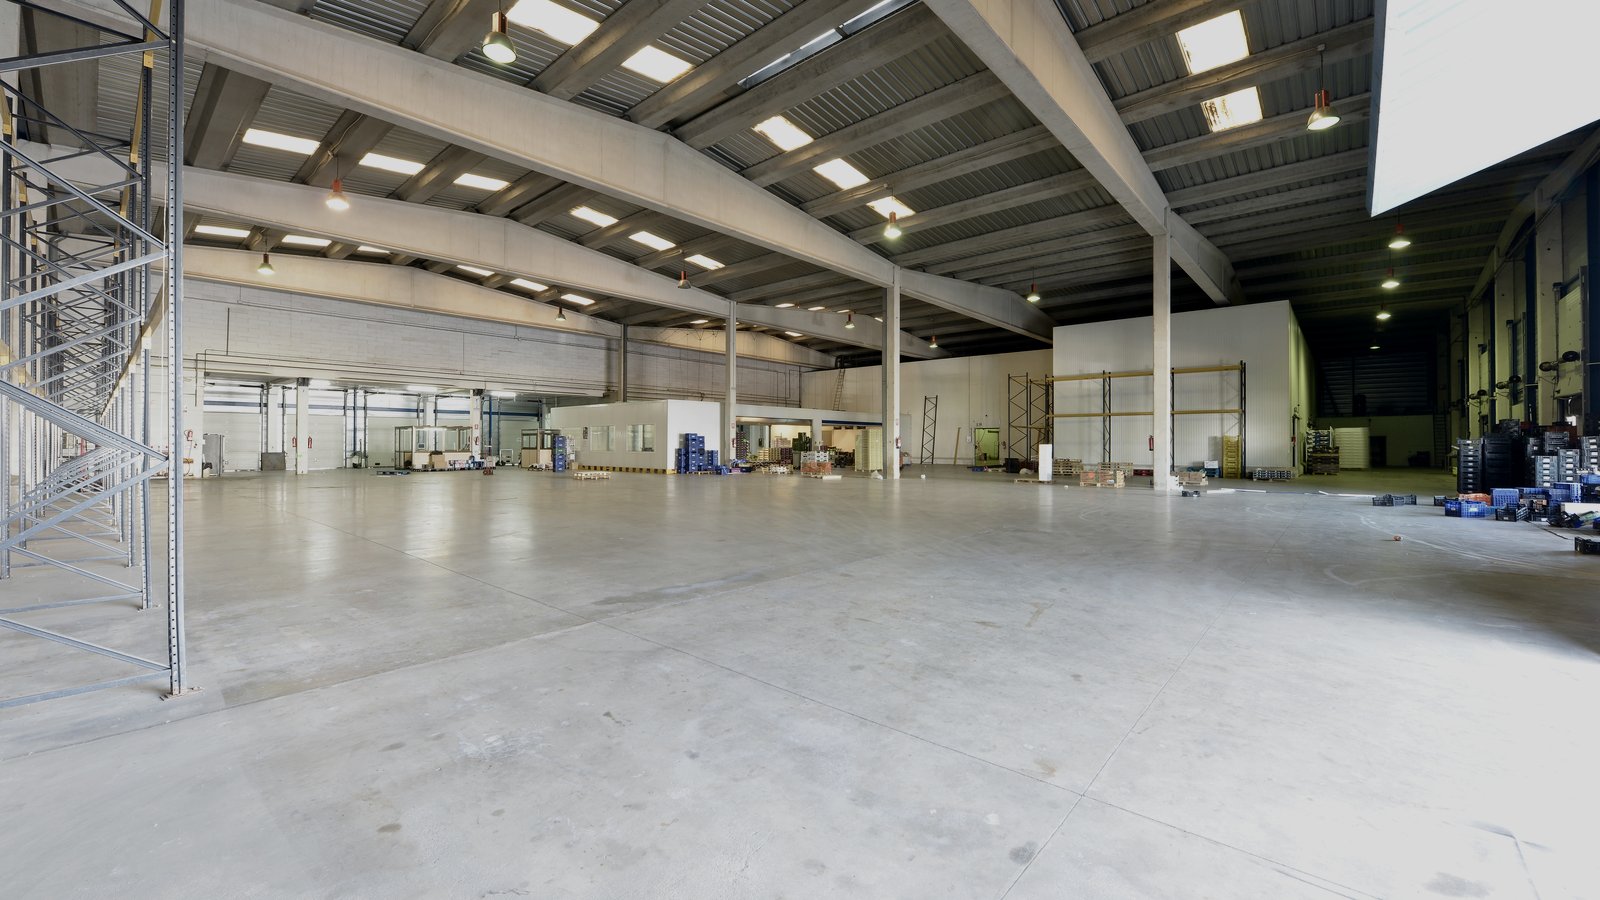
Every custom build fails somewhere. The only question is whether it fails on a shop floor in Manhattan with four days of float left, or at 6:15 a.m. on a loading dock in a city where your crew has no tools, no spare hardware, and no one to call. The difference between those two outcomes is not luck and it is not talent. It is a documented quality-assurance step that good event fabrication services treats as non-negotiable: the shop preview.
A shop preview is the moment the build stops being drawings and starts being a physical object that either works or doesn’t. It is walked, tested, photographed, and punched. Then it is torn down, crated, and shipped. Brands that skip this step are, functionally, doing their first assembly in public.
This guide covers what a shop preview is, what belongs on a punch list, how the process is sequenced against a typical build calendar, and what to write into your vendor agreement so it actually happens.
What a shop preview actually is
A shop preview—also called a pre-build, a shop set, or a white-glove—is the full or partial assembly of a finished build inside the fabrication facility before it is packed for transit. Not a mockup. Not a sample panel. The actual pieces, on the actual hardware, in the actual sequence a crew will use on site.
The distinction matters because partial checks lull people into false confidence. A wall panel can pass inspection on a bench and still refuse to seat against its neighbor when the whole run is stood up and the accumulated tolerance across eight panels has drifted three-eighths of an inch. Cabinetry can be square and still collide with a header that was fabricated by a different bench two weeks earlier. The only way to find a stack-up error is to stack it up.
- Full shop set: the entire build assembled at once. Standard for booths, stages, and anything with a structural relationship between elements.
- Sectional set: assembly in zones when shop square footage or ceiling height won’t take the whole footprint. Adjacent zones must overlap by at least one connection so seams are still proven.
- Dry fit: structure and hardware only, no finish. Useful as an early checkpoint but never a substitute for a finished preview.
- Client preview: a shop set the brand attends. Scheduled after the internal punch list is closed, not instead of it.
The sequence is important: the shop punches its own work first, fixes what it finds, and only then invites the client. A brand walking a build that hasn’t been internally punched is being asked to do the fabricator’s QA, and it turns a working session into an argument.
Why the shop floor is the cheapest place to find a problem
The cost of a defect scales brutally with how late you catch it. The same misaligned cleat costs a few minutes of a carpenter’s time in the shop and a five-figure emergency in a convention hall with union labor on the clock and a hard dark time.
| Where the defect is found | Typical fix window | Relative cost | Who pays |
|---|---|---|---|
| Shop drawings / engineering review | 5–15 business days out | 1x | Absorbed in design |
| Dry fit on the shop floor | 8–12 business days out | 2–4x | Absorbed by fabricator |
| Shop preview / punch list | 4–8 business days out | 5–10x | Absorbed by fabricator |
| Load-in on site | 0–2 days out | 25–60x | Usually the brand |
| During show hours | 0 days | Unrecoverable | The brand, visibly |
Those multipliers aren’t theoretical. On site you are paying travel labor, overtime, rush freight for any replacement part, and in many venues a drayage charge to move that part from the dock to your space. A $40 sheet of substrate becomes a $4,000 problem because of where it was discovered. Complex multi-element builds like the Netflix trade show booth at the Meadowlands carry the most exposure, because they combine structure, integrated AV, and finish tolerances that all have to land at once.
A punch list is not a complaint document. It is a cost-avoidance instrument, and it should be treated with the same seriousness as the budget.
The pre-build: setting the whole thing up before it crates
Schedule the shop set with real float, not theoretical float. On a typical eight- to ten-week custom build, the preview lands roughly four to eight business days before the crate date. That window exists so findings can actually be corrected—a repaint needs cure time, a re-machined bracket needs shop hours, a reprinted graphic needs the printer’s queue plus laminate.
What has to be true before you set it
- All structural elements are finished, not primed-and-pending.
- Final graphics are printed, trimmed, and mounted—not proof prints taped on.
- All hardware is the production hardware. Substituted fasteners invalidate the whole exercise.
- Electrical and AV components are installed and energized, not bagged in a box on the floor.
- The install kit exists: labeled hardware bags, a build sequence, and an as-built drawing set.
Freestanding trade show fabrication is the discipline where this bites hardest, because scenic elements are usually the largest, the most tolerance-sensitive, and the hardest to correct once finished. A wall that is out of plumb by a quarter inch over ten feet is invisible in the shop and obvious on camera.
Assembly should be performed by people who will not be on the install crew, working only from the written build sequence. If the build can only be assembled by the carpenter who made it, it cannot be assembled in a convention hall. A traveling program like Café de Colombia at the San Diego Convention Center proves this repeatedly: every city has a different crew, and the documentation is the only constant.
Building the punch list: what gets walked, and in what order
Walk the build in a fixed order every time. Consistency is what keeps items from being missed when the room is busy and the clock is running. The order below moves from structure outward to finish, which is also the order in which corrections cascade.
- Structure and level. Plumb, level, square. Check diagonals on every rectangular frame. Confirm the footprint matches the approved plan within a quarter inch.
- Connections. Every cleat, cam lock, panel connector, and T-nut engages by hand without persuasion. If it needs a mallet in the shop, it needs a mallet you don’t have on site.
- Reveals and seams. Consistent gap width across every joint. A reveal that reads 1/8 inch on one seam and 5/16 inch on the next is a visible defect even to people who can’t name it.
- Finish. Color match against the approved sample under the venue’s expected color temperature, not shop fluorescents. Check for orange peel, telegraphing, and edge chipping.
- Graphics. Registration, bleed at every edge, scale, and legibility at the real viewing distance.
- Integrated systems. Power, data, AV, and lighting energized and run for a sustained period.
- Safety and egress. Sharp edges, pinch points, trip hazards, load ratings, and fire-rating documentation.
- Teardown. Disassemble it. Time it. The teardown is data.
Every item gets a photo, a location, an owner, and a due date. “Panel looks off” is not a punch item. “North wall, panel 4/7, reveal at left stile measures 5/16 vs. 1/8 spec—re-machine stile, Marco, Thursday” is. Scenic-heavy builds delivered through stage and scenic fabrication generate the longest lists precisely because they carry the most finish surface area.
The five failure categories a punch list catches
1. Tolerance stack-up
Individually acceptable parts that sum to an unacceptable whole. The classic case: eight panels each 1/16 inch over spec, producing a run that’s half an inch too long for the frame. Found only by assembling the full run.
2. Sequence impossibility
The build can be assembled, but only in an order the site won’t permit—requiring access to a wall cavity that gets closed in step three, or a lift that can’t be driven past the header. Discovered by having someone unfamiliar follow the written sequence.
3. Hardware mismatch
Wrong fastener length, wrong thread, wrong quantity, or hardware that requires a tool no one is shipping. Catch it by counting the install kit against the as-built, not against the intent.
4. Finish drift
Two batches of the same paint, sprayed ten days apart, that don’t match under the venue’s lighting. Also laminate lots, vinyl dye lots, and stain absorption across boards from different bundles.
5. Integration conflict
Structure and technology fabricated in parallel that don’t reconcile—a monitor bezel deeper than the cavity, a cable run with no path, a transformer with no ventilation. This category dominates in immersive production work, where the technology package and the physical build are on separate critical paths and meet for the first time at the shop set.
Integration checks: power, AV, and graphics
Energize everything and leave it running. Thirty seconds proves nothing. A sustained soak—two to four hours minimum, longer for anything with a heat load—surfaces the failures that matter: transformers that get hot in an enclosed cavity, LED strips that shift color as they warm, media players that lock up on the fourth loop, and connections that intermittently drop.
- Total amperage draw per circuit, measured and documented, against what the venue will actually provide.
- Every cable run labeled at both ends and long enough for the real distance, plus service loop.
- Content playing from the production media player at production resolution—not a laptop.
- Every interactive element operated the way a guest will operate it, including wrongly.
- Thermal check after soak. Touch every enclosure. Anything uncomfortably warm in a 68°F shop will fail in a crowded hall.
Document the measured draw and hand it to the venue’s electrical contractor in advance. It is the single most effective way to avoid a load-in morning spent renegotiating power. Builds that combine live technology with hospitality finish—the Keurig x Nasdaq activation is a good example of the type—live or die on this check.
Crate and pack-out QA: the step most shops skip
The punch list usually stops when the last item is signed off. It shouldn’t. Roughly a third of on-site problems are created after the build passed inspection, in the twenty minutes it took to pack it badly.
- Crate to the panel, not to the truck. Custom dunnage, foam-lined faces, and separators. Finished faces never touch each other.
- Label for the load-in sequence. Crate 1 holds what comes off first. Number crates in build order, not in packing order.
- Hardware travels bagged, labeled, and duplicated. Ten to fifteen percent overage on every fastener type. It is the cheapest insurance in this business.
- Photograph the packed state. The pack-out photos are how the crew repacks it correctly at strike.
- Include the punch list itself. Any deferred items travel with the crate so the install lead knows what to watch.
Multi-room and multi-zone builds compound this. When a single program ships fourteen crates across three trucks, a mislabeled crate isn’t an inconvenience—it is a blocked critical path. Hospitality builds such as Magic Hour Mountain Lodge at Moxy NYC show how much of the on-site schedule is decided by decisions made in the packing bay.
How to run a shop preview from the brand side
If you are the marketer or producer attending, your job is not to re-litigate the design. That window closed at drawing approval. Your job is to verify that what was approved is what exists, and to make decisions fast enough that corrections still fit in the calendar.
- Bring the approved drawing set and the brand standards. Compare against documents, not memory.
- Bring your physical color and material samples. Screen comparisons are worthless.
- Stand where guests will stand. Check sightlines, viewing distance, and the photo angle you actually want.
- Ask to see the teardown. How it comes apart tells you what strike night will cost.
- Decide on the spot. Every deferred decision consumes float that belongs to the correction.
- Sign the punch list before you leave, including what you are accepting as-is.
The most useful question a brand can ask at a preview is not “can we change this?” It is “what worries you?” The shop always knows which element is the fragile one. A mature experiential design process surfaces that answer early rather than defending the build.
What to write into your vendor agreement
Shop previews disappear from schedules under pressure. The only reliable protection is contractual language. At minimum, specify:
| Clause | What it should say |
|---|---|
| Preview requirement | A full shop set is required prior to crating, at the fabricator’s facility, at no additional cost. |
| Timing | Preview occurs no fewer than four business days before the crate date. |
| Notice | Minimum five business days’ written notice of the preview date. |
| Documentation | Photo documentation of the assembled build and a written punch list delivered within one business day. |
| Closure | All punch items rated critical or major are corrected and re-verified before crating. |
| Deferral | Any deferred item requires written client acceptance identifying the on-site remedy. |
| Retainage | A defined portion of the final payment is tied to punch-list closure. |
Retainage is the clause with teeth. Tying a meaningful slice of the final invoice to documented closure converts the punch list from a courtesy into an obligation. Retail programs under fixed landlord deadlines—seasonal builds in the mold of the Primark holiday pop-up—benefit most, because the open date cannot move and there is no version of the schedule where a defect gets absorbed later.
Ask any prospective vendor for a redacted punch list from a recent comparable project. Two things are diagnostic. First, whether one exists at all. Second, whether it contains real defects. A punch list with four cosmetic items on a six-figure build means nobody looked.
Build it twice, ship it once
The shop preview is the least glamorous line in a fabrication budget and the one with the highest return. It converts unknown risk into a dated list of known tasks, while the tasks are still cheap. Everything downstream—freight, labor, install schedule, opening night—inherits whatever that walk did or did not catch.
If you are scoping a build and your vendor has not volunteered how they run QA, ask before you sign. Pop Up Your Brand pre-builds in-house, punches every project before it crates, and ships the documentation with the crates. To talk through a specific build—timeline, tolerances, and what the preview schedule would look like—start with our brand activations team and bring your drawings.