Oct 31, 2026 · Trade Shows & Exhibits
10×10 Trade Show Booth: Custom Layouts and Build Guide
How to plan a custom 10x10 trade show booth inch by inch: the inline height rules, four layouts for 100 square feet, what to build into the walls, and how to build a booth that grows into a 10x20.
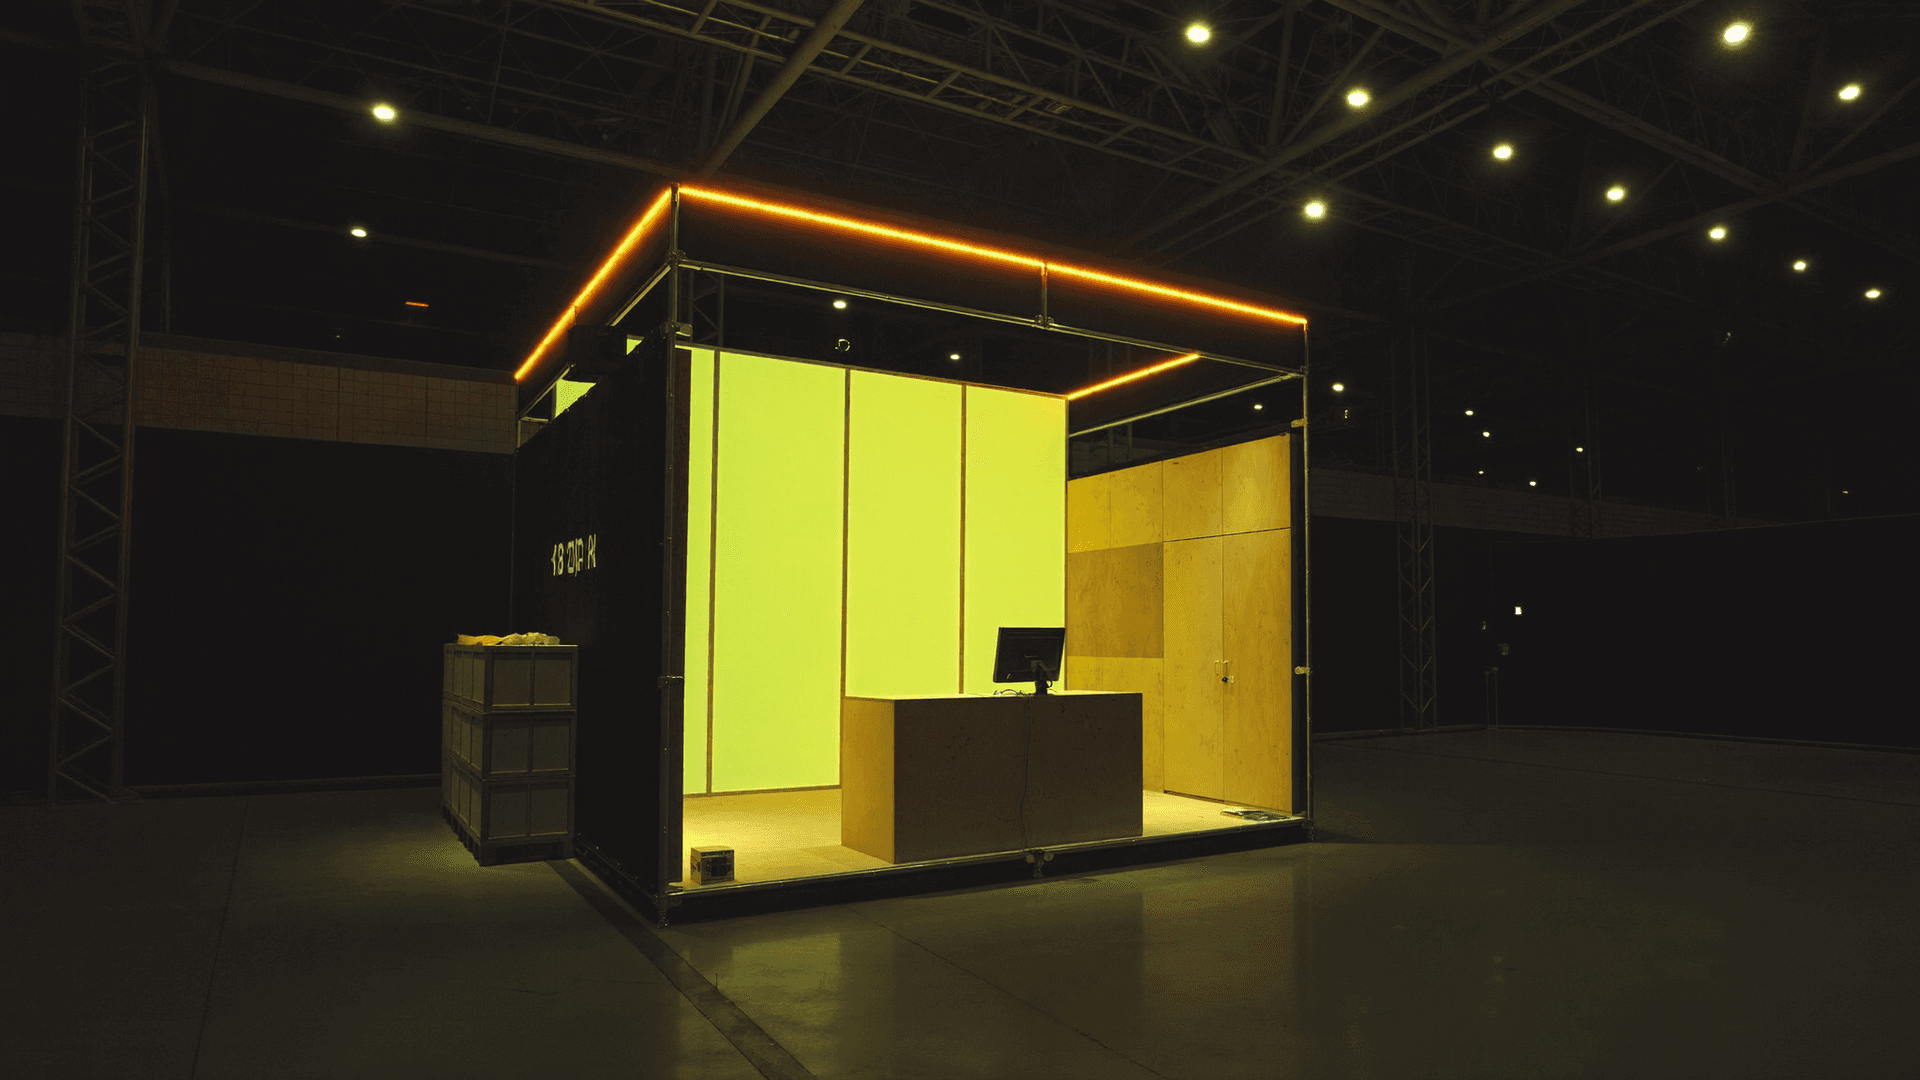
Walk any show floor and most 10x10 trade show booths look the same: a fabric back wall, a pop-up counter, a box of brochures under a tablecloth. That is fine for a first show. It stops working the day the brand in the next space brings the same kit, and your product has to be seen from 30 feet down the aisle.
This guide plans a custom 10x10 trade show booth inch by inch: the rules that shape the space, four layouts that fit 100 square feet, what to build into the walls, and how to build it so it grows into a bigger footprint later. It is written from the shop side, so dimensions are in inches and lead times are in business days.
How big is a 10x10 trade show booth, really?
A 10x10 trade show booth is a 100-square-foot inline space, usually 10 feet wide and 10 feet deep, open to one aisle, with an 8-foot back wall limit and a 4-foot limit on anything in the front 5 feet. That is the short answer to how big a 10x10 booth is. The long answer is that you do not get 100 square feet of anything you want.
Those limits come from the IAEE Guidelines for Display Rules and Regulations (2023 North American update), the baseline most North American shows start from before they write their own exhibitor manual. IAEE describes linear booths, also called inline booths, as spaces in a straight row with one side open to the aisle, most commonly 10 ft by 10 ft. Here is how the common trade show booth sizes compare under that baseline.
| Booth type | Typical size | Open sides | Height limit (IAEE baseline) |
|---|---|---|---|
| Inline (linear) | 10x10, 100 sq ft | 1 | 8 ft in the rear half, 4 ft in the front half |
| Inline (linear) | 10x20, 200 sq ft | 1 | 8 ft in the rear half, 4 ft in the front half |
| Corner | 10x10 at the end of a row | 2 | 8 ft in the rear half, 4 ft in the front half |
| Perimeter | 10x10 or larger, backed to a hall wall | 1 | Back wall typically up to 12 ft |
| Island | 20x20, 400 sq ft | 4 | Set by the show's island rules |
The real canvas: 600 cubic feet, not 100 square feet
Read the rules as a building envelope and the 10x10 splits in two. The rear half is 120 in. wide, 60 in. deep and 96 in. high. The front half is the same 120 x 60 in. footprint, capped at 48 in. Run the numbers and the rear half holds 400 cubic feet of buildable volume while the front half holds 200. Two thirds of everything you can build sits in the back 5 feet. That is why the back wall carries the brand and the front of the booth stays low and open.
This is the starting point for every inline we draw for custom trade show fabrication. If you are weighing the next size up, our 10x20 build guide covers the same rules across 200 square feet, with framing specs and an install checklist.
What do the show rules allow in an inline booth?
An inline booth can stand 8 feet tall only in its rear half, must stay at or under 4 feet in the front 5 feet, cannot carry a hanging sign, and must be finished on every surface a neighbor or the aisle can see. Your show's exhibitor manual can loosen or tighten any of that, so read it before design starts.
| Rule | IAEE baseline | What it means in a 10x10 |
|---|---|---|
| Back wall height | 8 ft maximum | 96 in. total, including any header, sign or light on top of the wall |
| Full-height zone | Rear half of the booth only | Tall structure lives in the back 60 in. |
| Front zone | 4 ft maximum forward to the aisle | Counters, plinths and displays in the front 60 in. stay at or under 48 in. |
| Hanging signs | Linear booths do not qualify | The brand has to read from the back wall |
| Corner booth | A linear booth at the end of a row, on two aisles | Same height rules, plus a second face to finish |
| Perimeter booth | Backs onto a hall wall | Back wall typically allowed up to 12 ft |
Three practical notes from the build side:
- The manual wins. Some shows allow taller back walls; many do not. Some shows enforce the rules at install with a tape measure, and anything over the limit gets reworked on site, on show labor.
- Finished backs are not optional. Any panel edge or return a neighbor can see needs a finished face, not raw MDF or exposed framing.
- Fire paperwork travels with the booth. Fabric and foam must be flame-retardant, and venues typically ask for NFPA 701 or equivalent certificates. Our custom exhibit design process reviews the exhibitor manual during design so nothing has to be modified on the show floor.
Lighting counts toward the height limit too. An arm light clamped to the top of an 8-foot wall is now part of an 8-foot-plus wall. Our booth lighting guide covers lighting rules by booth type and how to size the power order.
What is the best 10x10 booth layout?
The best 10x10 booth layout is the one built around a single job: showing product, running a demo, holding a meeting or serving samples. Pick the job first, then the plan. Trying to do all four in 100 square feet produces a booth that does none of them well.
| Layout | Best for | What goes where | Watch out for |
|---|---|---|---|
| Open showroom | Consumer products, new collections | Full-width back wall with lit product niches; one plinth under 48 in. in the front half; reception counter along the front | Staff standing in the aisle line |
| Demo | Software, devices, equipment | Back wall with one screen centered 60 to 66 in. off the floor; 42 in. demo counter; 1 to 2 staff | Glare from hall lighting on the screen |
| Meeting pocket | B2B sales teams booking appointments | Counter turned sideways at the rear; two stools; closet in the opposite rear corner | Only works with 2 staff or fewer |
| Sampling | Food, beverage, wellness | Service counter across the rear with back-bar storage; open front for a short queue | Health and fire rules on refrigeration and heat |
The sampling layout borrows from bigger builds. For the Celsius sampling bar we built a product bar with a refrigerated display and set the lighting angles for phone cameras. That was an 1,800-square-foot SoHo storefront, not a booth, but the method scales down: put the cold product behind the counter, light the bar face, and keep the front clear for the line.
The inch budget, worked out
Every 10x10 is a negotiation over 120 inches of width. Here is a typical showroom-plus-closet plan, using the dimensions from our own builds.
- Width: a 72 in. reception counter takes 60 percent of the 120 in. frontage and leaves 48 in. of open entry for visitors. Reception counters typically run 60 to 96 in. wide and 24 to 30 in. deep, so this is a mid-size choice.
- Back wall: a lockable 36 x 30 in. closet in one rear corner takes 30 percent of the back wall and leaves 84 in. of uninterrupted graphic.
- Depth: set the counter back 15 in. from the aisle line (we work to 12 to 18 in.), add 24 in. of counter depth, and the counter ends 39 in. into the booth. With the closet taking the back 30 in., staff get 51 in. of working depth between counter and closet.
- Height: a 42 in. counter in the front half clears the IAEE 48 in. front-half limit by 6 in. The back wall's top band, from 72 to 96 in., is 24 in. of clear space for the primary message.
Run this exercise on paper before anyone draws a rendering. Our spatial design and layout team starts every inline with the visitor path and the inch budget, then the graphics.
Which 10x10 booth design ideas earn their space?
The 10x10 trade show booth ideas that work are the ones that solve a constraint: low front, one open side, no hanging sign, flat hall light. Here are six we build often, each with the build behind it. Each one ends with what the shop actually makes, because these ideas live or die on execution.
- A backlit back wall. The whole wall glows against flat overhead hall light and reads from the far end of the aisle. The build: an aluminum frame with LED inside and a fabric graphic pressed into a silicone-edge channel, swappable between shows.
- One hero product at eye level. A single lit niche cut into the back wall beats a shelf of twelve SKUs. The build: a framed recess with blocking for the shelf load, an LED strip at the top edge and a finished return on all four sides.
- A flush-mount screen with no visible cables. A TV hung on a bracket reads as an afterthought. The build: a pocket framed to the screen's bezel depth with internal cable channels, the method behind the flush-mount screen walls we built for Netflix at the Meadowlands. That booth was 22x22; the pocket detail is the same in a 10x10.
- A header that reads from 30 feet. The band from 72 to 96 in. is the only part of the wall visible over heads. The build: the brand mark and one line of message in that band, nothing else.
- A small photo moment in one corner. It gives people a reason to stop without blocking the aisle. The build: a dimensional logo or textured panel, lit for phone cameras.
- A closet built into the wall. Lockable, out of sight, and the reason the booth still looks clean on day three. The build: a 36 x 30 in. framed closet with a graphic-clad door that reads as part of the wall.
Good 10x10 booth design is mostly print and light done well. Our large format and SEG graphics are produced in-house to the frame dimensions, so the fabric fits the channel on the first try.
Kit, hybrid or custom: which 10x10 fits your show calendar?
A pop-up kit suits a brand doing one or two shows a year. A hybrid, a client-owned aluminum frame with custom counter, closet and feature wall, suits a brand doing three or more. Fully custom suits a brand with a fixed footprint, a signature look and a place to store it.
| Option | Pop-up kit | Hybrid | Custom |
|---|---|---|---|
| What it is | Off-the-shelf frame and fabric graphic | Client-owned aluminum frame plus custom counter, closet and feature pieces | Framed and skinned walls, millwork, integrated light |
| How it looks on the floor | Standard fabric-graphic look, often the same frame as the next booth | Custom where people touch and look | Highest finish, one of a kind |
| Setup | No-tool setup by booth staff | Frame: a two-person crew in 60 to 90 minutes for a 10x10; custom counter and closet drop in after | One labor call with a crew of 2 to 4, from labeled crates |
| Reuse | Until the graphic fades or the message changes | Frame reused, graphics swapped each show | 4 to 8 shows before major refurbishment |
| Best for | First or occasional shows | Three or more shows a year, mixed sizes | A fixed footprint and a signature look |
Our modular booth systems use a standardized grid module, typically 10x10 or 5x10 ft. A two-person crew assembles a 10x10 configuration in 60 to 90 minutes, and graphic refreshes from templates on file ship in 5 to 7 business days. Custom exhibits we design for reuse serve 4 to 8 shows before major refurbishment, and a well-engineered booth installs in one labor call with a crew of 2 to 4. For the full cost comparison across a show cycle, read our custom vs modular cost math.
Who should not buy a custom 10x10? A brand doing one show a year, with no product to show and nowhere to store a crate. Keep the kit, spend on graphics, and revisit when the show calendar grows. Custom 10x10 projects in our shop start at $25,000, our current project minimum, and that only pays back across a real show schedule.
Already own a kit? Send photos and the frame dimensions with your brief (the list is at the end of this guide), or call (800) 670-0462. We will tell you which parts are worth keeping inside a hybrid build and which are costing you attention on the floor.
What has to be built into the walls: storage, light, power and screens?
Anything a 10x10 needs during the show has to be designed into the structure before fabrication: the closet, the counter storage, screen blocking and a service cavity, the lighting, and the point where power enters. Things added on site look added on site, and they usually break the height or the budget.
Storage
A 36 x 30 in. lockable closet in one rear corner holds coats, collateral and laptop bags. Without it, they end up in a pile behind the counter by the second morning.
Counters
Build the counter at 42 in. for standing demos, or 36 in. for an accessible service section. Specify lockable storage inside and a cable pass-through in the top so devices charge without cords across the surface. Our guide to custom trade show counters covers tops, footprints and finishes.
Screens
Frame solid blocking into the wall at the exact mount point; hollow-panel anchors are not a mount. Center the screen 60 to 66 in. off the finished floor and leave a 6 in. service cavity behind it for the media player and power brick, with ventilation slots so they do not overheat on day three.
Lighting and power
LED inside the back wall plus one or two arm or track heads is enough for 100 square feet. Group the loads onto as few circuits as possible, because every drop is its own line on the electrical order. Specify where the drop enters, usually a rear corner, so no cable crosses the carpet. At union venues in New York, including the Javits Center, electrical work typically falls to the official show contractor, so the drop location goes on the order, not on a note to the install crew. With LED and lighting integration built into the walls, every light is wired and tested during the full shop pre-assembly, before the booth is crated.
How do you build a 10x10 that grows into a 10x20?
Design the 10x10 as one module of the larger program from the first drawing: the same grid, the same connection hardware and the same graphic sizes. Then a 10x10 inline, a 10x20 inline, a 10x20 corner and a 20x20 island can all come from one component set, with an assembly guide for each configuration.
The proof is in reuse. For the reconfigurable Thermacell booth for IBS, we engineered a 20x30 island with a connection system that also builds as a 20x20 or a 10x20 inline. It was pre-assembled in our NYC shop, installed in its allotted 8-hour window, and reused across three shows. At the next show it went up as a 20x20 with no added fabrication. The same thinking, applied from the small end, lets a 10x10 grow instead of being replaced.
A few rules for a booth that scales:
- Keep panel widths to one module, for example 60 in. bays on a 5x10 ft grid, so the 10x10 back wall becomes half of a 10x20 back wall without new parts.
- Put the closet and counter on the same connection hardware as the walls, so they move to any position.
- Plan the graphics as sets: one center panel that never changes, side panels that swap per show.
- Remember the rules change with size. Under the IAEE guidelines (2023 update), when three or more linear booths are combined, the 4-foot limit applies only within 10 feet of an adjoining booth, so a 10x30 can carry height further forward.
The most expensive booth is the one you rebuild every show because it was never designed to be crated, stored, and reinstalled.
That line is from our 10x20 guide and it applies doubly to a 10x10, where the crate is small enough that teams often skip it. Plan where the booth lives between shows from day one; our notes on storage and reuse between shows cover crating, climate and when to refresh.
How long does a custom 10x10 take?
Start a custom 10x10 eight to twelve weeks before installation, which is 40 to 60 business days (our custom exhibit design standard). Allow twelve weeks or more for shows with strict shipping deadlines. Returning clients with a locked brand system can run as short as six weeks, or 30 business days.
The calendar is set by decisions, not by the size of the booth. A 10x10 moves through the same gates as a larger build: brief, concept, shop drawings, fabrication, a full pre-assembly in the shop, crating and freight. Fewer pieces shorten fabrication, not approvals.
The fast case proves the point. The Netflix booth at the Meadowlands went from locked drawings to install in two weeks (14 calendar days), against the four to six weeks (20 to 30 business days) that scope normally takes, because every dimension was approved at kickoff and every trade ran in parallel. A 10x10 with an open design question on week three will not move that fast.
Weight is the other schedule and budget lever. Freight and material handling are billed by weight, so a lighter 10x10 costs less to move at every show. Our guide to drayage and crating explains how that charge is calculated. If your program is heading toward a bigger space, read our 20x20 island guide before you lock the 10x10 grid.
Get your 10x10 quoted
Send us the following and we will come back with a layout, a construction recommendation (keep your kit, go hybrid or go custom) and a line-item budget within 48 hours:
- The floor plan with your space marked: inline, corner or perimeter.
- The show name or the exhibitor manual.
- Every show on the calendar for the next 24 months, with the booth size at each.
- What has to be shown or demonstrated, and what it needs: power, data, refrigeration.
- How many staff will work the booth at peak.
- Where the booth will be stored between shows.
Custom 10x10 projects in our shop start at $25,000. If you are still assembling the brief, our guide on how to brief a fabrication shop lists what to send and why. Or call (800) 670-0462 and talk to the team that will build it.