Sep 24, 2026
10×20 Trade Show Booth: Layout, Specs & Build Guide
Plan a 10x20 trade show booth that works: inline height rules, proven layouts, materials specs, NYC budget ranges, and a realistic fabrication timeline.
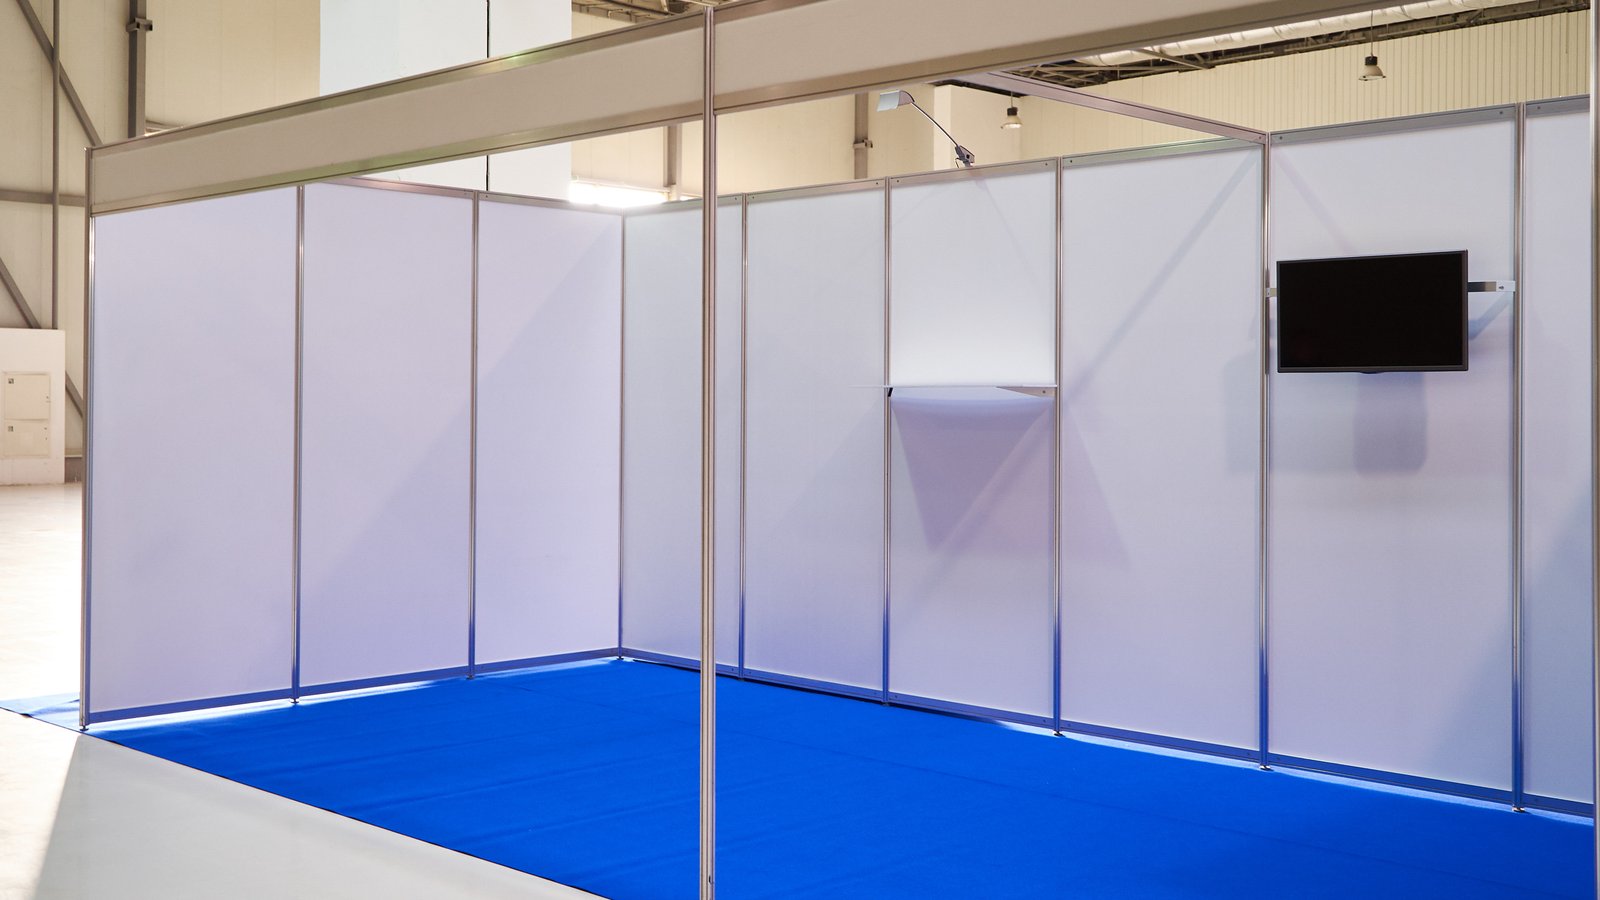
A 10×20 is the workhorse of the trade show floor. It is big enough to hold a real product demo, a meeting pocket, and storage, and small enough that every inch has to earn its place. It is also the size where most exhibitors make the same expensive mistake: they design it like a scaled-down island, then discover at the show decorator’s desk that half of it violates the line-of-sight rules for an inline space.
This guide is the build-side view of the 10×20. It covers the real footprint rules, the layouts that work, the materials and structure choices that drive cost, what a realistic budget and timeline look like, and how the booth gets from a shop floor to a numbered space at the Javits. It is written from the perspective of a trade show fabrication shop that builds these every season, so expect dimensions in inches and lead times in business days.
What a 10×20 Booth Actually Gives You
On the floor plan, a 10×20 is 200 square feet: 10 feet deep and 20 feet wide, usually configured as an inline (linear) booth with neighbors on both sides and an aisle in front. Some shows sell 10x20s as end-caps or peninsulas, which changes the rules considerably, so the first job is to confirm which configuration you bought. The space number on your contract is not enough. Pull the floor plan and look at what is on each side of you.
The usable area is smaller than 200 square feet. By the time you account for the show-supplied back drape or hard wall, the pipe-and-drape side rails, a 24-inch clearance behind your back wall for cable routing and storage access, and the front-half height limits, the zone where you can place tall structure is roughly 10 feet wide by 5 feet deep on each half of the booth. Everything forward of that line has to stay low.
The standard inline rules
Most North American shows base their rules on the IAEE display guidelines, then modify them in the exhibitor manual. The typical inline constraints look like this:
- Maximum height: 8 feet (96 inches) across the back wall, including signage and lighting. Some shows allow 10 or 12 feet; many do not.
- Front-half limit: anything placed in the front 5 feet of the booth is generally capped at 4 feet (48 inches) so neighbors keep sightlines down the aisle.
- Side walls: full height is typically allowed only in the rear 5 feet. Forward of that, side dividers step down to the 4-foot limit.
- Hanging signs: almost always prohibited for inline booths.
- Finished backs: any surface visible to a neighbor or the aisle must be finished, not raw substrate or exposed framing.
Treat these as the starting assumption, not the answer. The exhibitor manual for your specific show overrides all of it, and some venues and show organizers enforce the rules at install with a tape measure.
Layouts That Work in 200 Square Feet
There are four layouts we see succeed in a 10×20, and they map to what the booth is supposed to do. Decide the job first, then pick the plan. A good experiential design process starts with the visitor path, not the back wall graphic.
| Layout | Best for | Key elements | Watch out for |
|---|---|---|---|
| Open showroom | Product-forward brands, consumer goods | Full back wall, 2 low display plinths, 1 counter | Staff crowding the aisle edge |
| Demo-centric | Software, tech, equipment | Monitor wall at 60 in. center height, demo counter, standing stools | Screen glare from hall lighting |
| Split: demo + meeting | B2B sales teams booking meetings | Back wall with integrated closet, half-height divider, 2-seat meeting pocket | Meeting area feeling cramped or visible from aisle |
| Sampling / hospitality | Food, beverage, wellness | Service counter, back-bar storage, queue line on one side | Health department and fire-marshal requirements |
The back wall is the billboard
In an inline booth, the back wall does 80 percent of the brand work because it is the only surface that reads from 30 or more feet down the aisle. Keep the primary message in the top third, above 6 feet, where it clears the heads of visitors and staff. Everything below that line is conversational: product detail, QR codes, demo screens.
Storage is not optional
A 10×20 without a lockable closet turns into a pile of jackets, collateral boxes, and laptop bags behind the counter by the second morning. A 36-inch by 30-inch closet built into one end of the back wall costs a few hundred square inches of graphic and saves the booth’s appearance for the entire run of show.
Custom, Modular, or Hybrid Construction
The construction method decides the budget, the weight, and whether the booth survives more than one show. For a 10×20, most programs land in one of three camps. The Netflix trade show booth at the Meadowlands is a good example of how custom framing can carry a brand story that modular extrusion cannot.
| Method | Typical materials | Reuse potential | Relative cost |
|---|---|---|---|
| Fully custom | Wood framing, MDF or Baltic birch skins, paint and laminate finishes | 1 to 3 shows with careful crating | Highest |
| Modular extrusion | Aluminum extrusion, SEG fabric graphics, tension panels | Many shows; graphics swap per event | Lowest per show over time |
| Hybrid | Aluminum structure with custom-built counters, reception pieces, and feature walls | Frame reused; custom pieces refreshed | Middle |
For clients exhibiting four or more times per year, hybrid is usually the right answer. The aluminum frame and lightbox backbone ship light and reassemble fast, while one or two custom-built hero pieces give the booth the sense of craft that pure extrusion lacks.
The most expensive booth is the one you rebuild every show because it was never designed to be crated, stored, and reinstalled.
Materials and Structure Specs
At 8 feet tall and 20 feet wide, a back wall is a sail. It has to stand on its own without anchoring to the venue floor, and it has to survive being handled by union labor on a tight install window. These are the specs our event fabrication services team works to on a standard 10×20:
- Back wall framing: 2×4 or 1×4 poplar frames skinned in 1/2-inch or 3/4-inch MDF for custom builds, or 40mm to 100mm aluminum extrusion for modular. Panels are sized to 48 inches wide or less so they fit through standard crate openings.
- Graphics: SEG (silicone edge graphic) fabric for backlit walls; direct-print on 1/4-inch Sintra or 3mm aluminum composite for rigid panels.
- Counters: 42-inch counter height for standing demos, 36 inches for ADA-accessible service. Solid-surface or high-pressure laminate tops handle four days of coffee cups.
- Flooring: 3/8-inch or 1/2-inch padding with carpet or a 1-inch raised floor if you are running power and data across the booth. A raised floor also hides cable ramps that would otherwise be trip hazards.
- Lighting: LED lightbox edge lighting inside the back wall, plus arm lights or track heads. Keep total draw on a single 20-amp circuit if possible to control electrical orders.
- Fire rating: all fabric and foam flame-retardant, with certificates on hand. Many venues require documentation for any material that is not inherently non-combustible.
Weight matters more than most clients expect. Drayage (material handling) is billed by weight, so a 10×20 that ships at 1,800 pounds instead of 3,000 pounds can save real money every single show. Specify lighter substrates where they do not show.
Technology, Power, and Lighting Integration
Most 10x20s now carry at least one large display, and many carry an LED wall section, a touchscreen, or an interactive demo. Planning those elements belongs in the design phase, not at the electrical order form. Programs that lean into interactive or sensory content increasingly borrow from immersive production techniques, even inside a 200-square-foot footprint.
Screens and mounts
Mount displays with their center at 60 to 66 inches off the finished floor for standing viewers. Build blocking into the wall framing at the exact mount location; do not rely on hollow-panel anchors. Leave a 6-inch service cavity behind every screen for media players and power bricks, with ventilation slots so they do not overheat on day three.
Power planning
- List every device with its wattage: screens, lightboxes, arm lights, laptops, charging stations, refrigeration.
- Group loads so the booth needs as few separate drops as possible; each drop is its own line item on the electrical order.
- Order power early. Most show electrical contractors charge noticeably more for orders placed after the advance deadline or on-site.
- Specify where the drop enters the booth. A back-corner drop routed under a raised floor is cleaner than a cable run across the carpet.
The Monday.com MP Live build is a useful reference for how screen-heavy software environments can be framed so the technology reads as architecture instead of a TV on a stand.
Budget Ranges for a 10×20 Booth
Budget questions deserve direct answers, with the caveat that finishes, technology, and market move the number. These are ballpark ranges for the booth property itself in the NYC market, before space rental, show services, travel, and staffing.
| Line item | Modular / rental | Hybrid | Fully custom |
|---|---|---|---|
| Design and engineering | $1,500 to $3,500 | $3,000 to $6,000 | $5,000 to $12,000 |
| Structure and fabrication | $8,000 to $18,000 | $18,000 to $35,000 | $30,000 to $65,000+ |
| Graphics | $2,000 to $5,000 | $3,000 to $7,000 | $4,000 to $10,000 |
| Lighting and AV integration | $1,000 to $4,000 | $3,000 to $10,000 | $5,000 to $20,000+ |
| Crating | $800 to $2,000 | $1,500 to $3,500 | $2,500 to $6,000 |
Show services sit on top of this and are frequently underestimated: drayage, labor, electrical, rigging where allowed, internet, cleaning, and lead retrieval. On a 10×20 at a major NYC venue, show services can add a meaningful fraction of the build cost for every event, which is another argument for designing a lighter, faster-to-install booth.
If the same budget has to cover a trade show and a consumer-facing moment later in the year, consider whether some elements can be designed for double duty. Counters, lightboxes, and display plinths from a booth can often be reconfigured into brand activations with new graphics and finishes.
Timeline: From Brief to Show Floor
A 10×20 is not a small project from a scheduling standpoint. It moves through the same gates as a larger booth, just with fewer pieces. Here is a realistic sequence in business days, working backward from the ship date to the show’s advance warehouse or direct-to-show target.
- Brief and site review (3 to 5 business days): floor plan, exhibitor manual, goals, product list, and brand guidelines.
- Concept design (5 to 10 business days): plan view, elevations, and 3D renderings. One or two revision rounds.
- Shop drawings and engineering (5 to 8 business days): dimensioned drawings, material callouts, and electrical plan. Client signs off here.
- Fabrication (15 to 25 business days): framing, finishing, graphics production, and AV integration run in parallel.
- Shop preview (1 to 2 business days): full setup in the shop for client walkthrough and punch list.
- Crating and shipping (2 to 5 business days): depends on whether the booth goes to the advance warehouse or direct to show.
That is roughly 6 to 11 weeks end to end. Compressed schedules are possible and common, but they cost more and remove revision rounds. The IBS trade show project shows what a disciplined schedule looks like when the show date is fixed and the scope is not small.
Installation, Show Rules, and Labor
Installation is where good drawings pay off. A well-engineered 10×20 should install in a single labor call with a crew of two to four, and dismantle faster than that. If it cannot, the design has too many loose parts.
What to prepare before move-in
- A one-page install guide with numbered panels, a plan view, and photos from the shop preview.
- Labeled crates, each with a contents list taped inside the lid.
- Show-service orders confirmed: labor, electrical, carpet (if not supplying your own), and cleaning.
- Material certificates for flame-retardant fabrics and finishes, printed and digital.
- A spare-parts kit: hardware, touch-up paint, extra graphic clips, gaffer tape, and a backup media player.
Union jurisdiction rules apply at most major venues, including the Javits Center. Exhibitors can often do limited hand-carry setup, but structural assembly, electrical, and forklift work typically fall to the official contractors. Build that into both the budget and the design. Our work on Café de Colombia at the San Diego Convention Center is a good example of planning a build around a venue’s labor rules so the install stays on schedule.
Getting More From 200 Square Feet
A few design moves consistently make a 10×20 feel larger and work harder:
- Pull the counter back 12 to 18 inches from the aisle edge. It invites visitors into the booth instead of creating a barrier at the line.
- Use one strong color field. Busy back walls shrink the space. A single dominant color with one hero image reads from farther away.
- Light the back wall evenly. Backlit SEG walls make an inline booth glow against the hall’s flat overhead lighting.
- Build in a photo moment. Even a small branded corner gives attendees a reason to stop and post.
- Plan the staff zone. Two to three staff maximum in a 10×20. More than that and visitors cannot get in.
The same principles show up in retail. The spatial logic behind a tight booth is close to what drives good pop-up shop design: a clear entry, one focal point, and circulation that pulls people deeper. You can see that thinking in the Celsius pop-up, where a compact footprint still delivered a clear visitor path.
Planning Checklist for Your 10×20
Before you send a brief to any fabricator, have answers to these questions. They drive design, budget, and schedule more than anything else.
- Is the space inline, end-cap, or peninsula? Confirm on the floor plan.
- What are the show’s height limits and front-half restrictions?
- How many shows will this booth do in the next 24 months?
- What needs to be demonstrated, and what does it need (power, data, water, refrigeration)?
- How many staff will work the booth at peak?
- Do you need a closed meeting area or just a storage closet?
- Where will the booth be stored between shows, and who manages it?
- What is the all-in budget, including show services?
Brands that want a booth to double as a set piece for a keynote or event stage should flag that early, since stage and scenic fabrication requirements change the structure and finish specs.
Build Your 10×20 With a Shop That Owns the Details
A 10×20 rewards precision. The difference between a booth that works and one that disappoints is usually a handful of inches, a missed height rule, or a closet nobody planned. PUYB designs, engineers, fabricates, and installs booths out of our own shop, with drawings that show the dimensions and schedules that show the business days.
If you have a show on the calendar, send us the floor plan and exhibitor manual. We will come back with a layout, a construction recommendation, and a realistic budget. Start with our trade show fabrication team, or look at the Keurig x Nasdaq project to see how we handle high-visibility builds in tight footprints.