Oct 25, 2026 · Trade Shows & Exhibits
Trade Show Booth Lighting: A Fabricator’s Build Guide
How trade show booth lighting gets built into a custom booth: what the show allows, how to size the power order, backlit walls, color for product, hanging signs and the shop test before the crates ship.
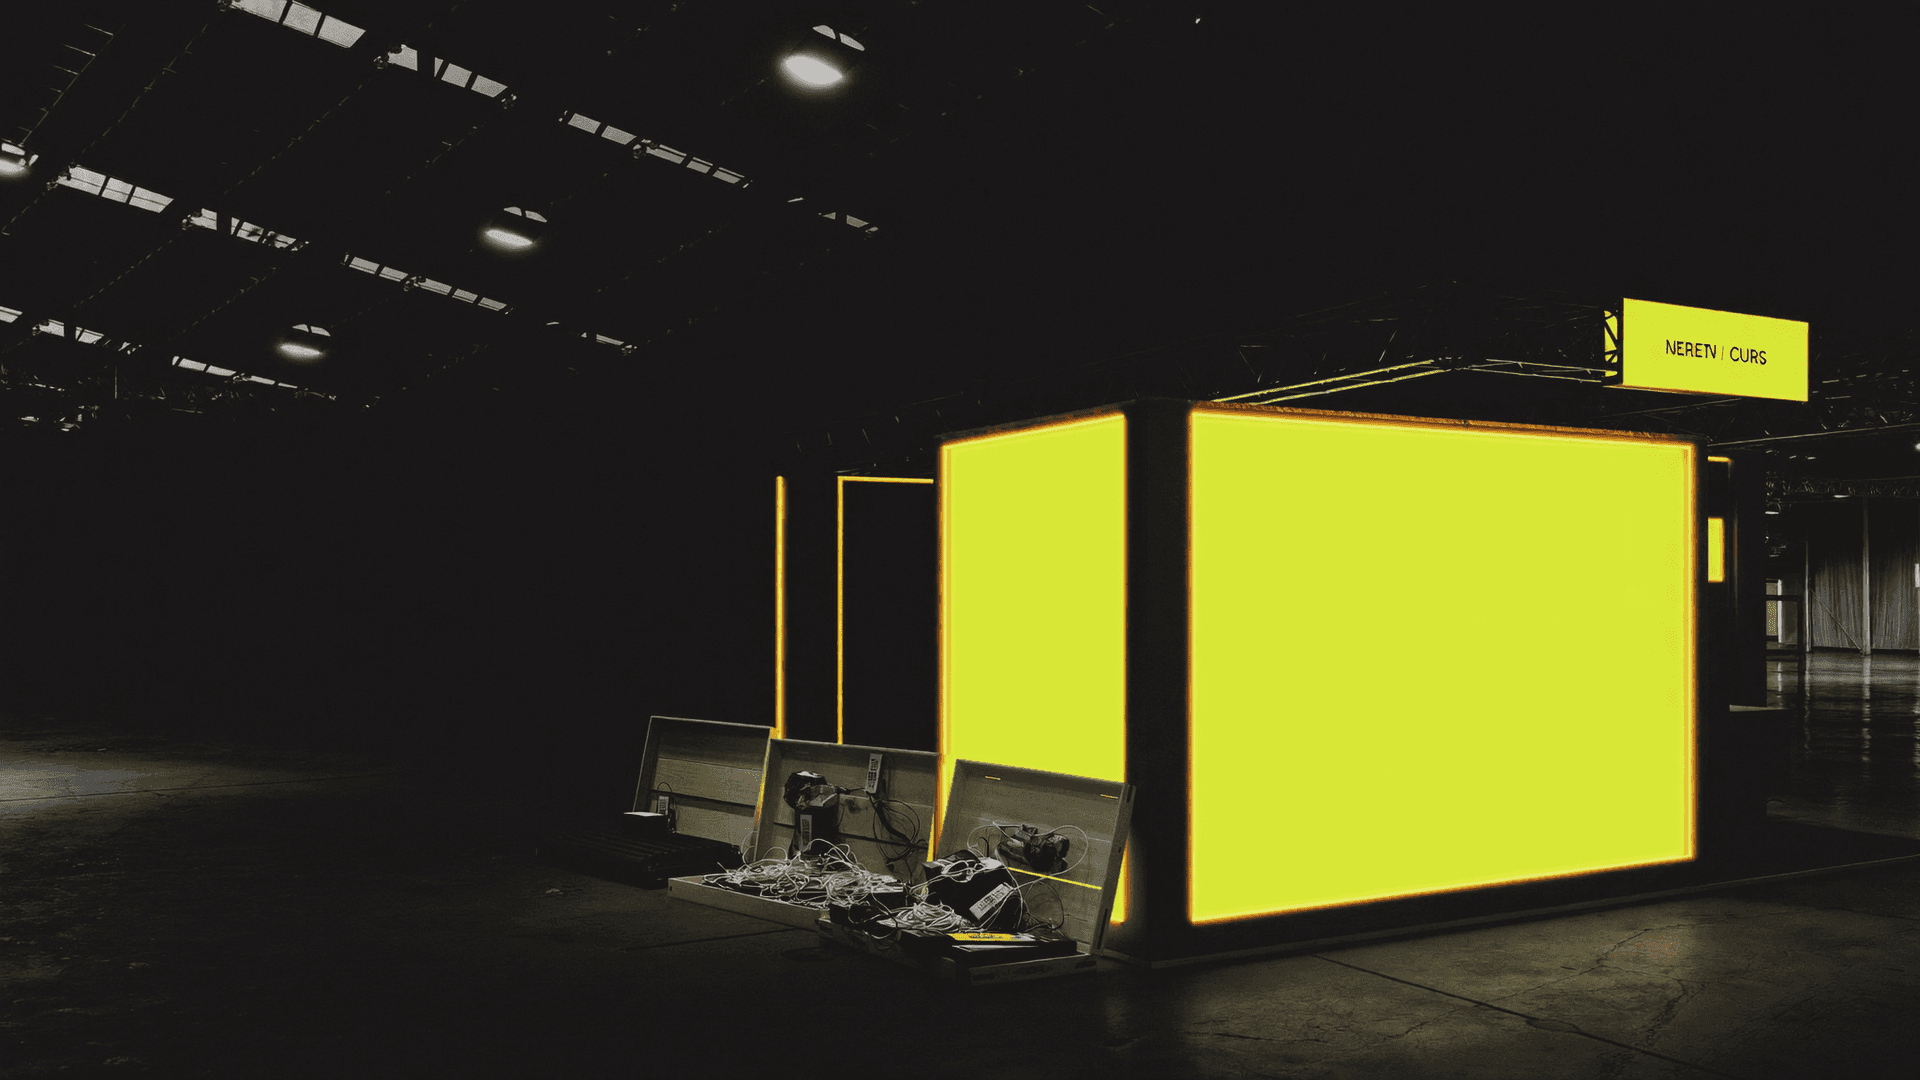
Trade show booth lighting starts with one fact: the hall's light is not there for you. A convention hall is lit for the whole floor, from high overhead, and that light lands on every exhibit the same way. If you want product color that reads true, a logo people notice from the aisle and photos attendees actually post, the booth has to bring its own light. That light has to be planned into the build, not clipped on at the venue.
Most lighting problems are settled weeks before move-in, when the drawings are approved and the power order goes in. That is when the order comes out too small, a fixture gets aimed into the aisle, or the logo gets built with no route for its cable. This guide covers the builder's side: what the show allows, how to size power, which lit elements belong inside the structure, how the booth reads on camera, and how we test it all before the crates close. It is not a fixture catalog. For strip, par and controller types, start with our LED fixture and control basics.
Why is trade show booth lighting a build decision, not an accessory?
Booth lighting works best when it is designed into the walls, counters and signs during fabrication. Power paths, mounting points and heat all have to be built in before the structure ships. Lights added at the venue light the surface from outside, cast arm shadows and leave cable in view.
Compare the two approaches on a single wall. A clip-on arm light hangs off the top edge, points down at the graphic and needs an extension cord to the nearest outlet. A built-in light lives inside the wall: an LED channel routed into the CNC-cut panel, a power path framed in during carpentry, and control wiring terminated and labeled before the panel leaves the shop. That is how our LED and lighting integration work runs. The fixture is part of the structure, so the crew plugs it in rather than mounting it under a show-floor deadline.
Heat is the part people forget. LED drivers get warm, and a driver sealed in a closed cavity with no airflow fails sooner. Building lighting in means venting the cavity and leaving service access to the driver, which only happens if lighting is on the drawings from the start.
On the Netflix booth's color-matched LED logo, a 22 ft x 22 ft build delivered fourteen days from approved drawings to install, the first day of the project was an engineering review. Fixture mounts and the logo's wiring routes were checked against the drawings, so conflicts surfaced before the saw cut anything. The logo's power was routed through the booth's main power distribution, so it carried no visible cabling.
Onsite was an assembly operation, not a problem-solving one.
Pop Up Your Brand, Netflix Meadowlands case study
What lighting will the show allow? Rules by booth type
Most North American shows base their display rules on the IAEE Guidelines for Display Rules and Regulations (2019 North American Update), and your own exhibitor manual overrides them. Four of those guidelines shape lighting more than any others:
- No lighting, fixtures, lighting truss or overhead lighting may extend past your booth boundaries.
- Lights, including gobo projectors, point into your own booth, never onto neighboring exhibits or the aisle.
- Flashing, strobe, laser and UV effects are not banned outright. They need facility compliance and written approval from show management.
- Hanging light systems need drawings submitted to the organizer for approval.
Height limits decide where light can go. The table below follows the IAEE guidelines; individual shows set their own numbers.
| Booth type | Typical height limit | Hanging sign or overhead lighting | Lighting note |
|---|---|---|---|
| Inline (10x10, 10x20) | 8 ft back wall in the rear half; 4 ft in the half toward the aisle | Generally not allowed | Light comes from the back wall, counters and product shelves |
| Peninsula | Set by the show manual | Usually allowed; confirm in the manual | Light must not spill onto the neighboring booth on the shared side |
| Island | 16 to 20 ft including signage is typical | Allowed to the organizer's limit | Four open sides, so every face needs light and no cable can hide behind a back wall |
Shows do vary. EXHIBITORLive 2025 set 8 ft 3 in for linear booths and 20 ft for islands in its exhibit regulations. Pull the lighting, height and hanging-sign pages from your exhibitor manual before the design is locked, and hand them to whoever runs your custom exhibit design. A lit element that clears the height limit on paper can still fail inspection if it spills light into the aisle.
Who brings power to the booth, and how much should you order?
Power comes from the venue's or the show's electrical contractor, ordered in advance in blocks sized by watts and volts; your exhibitor manual names the contractor. At the Javits Center in New York, the venue's own electricians handle lighting installation and dismantling, plus all electrical wiring, load centers and distribution panels, according to the Javits Center's published services page.
Can you bring and install your own lights? Sometimes, within narrow limits. New York Comic Con's 2025 rules at Javits let exhibitors plug in their own 110-volt devices of 1,500 watts or less. The same rules let exhibitors install their own lights only in booths of 100 sq ft or less, without tools or ladders, on electrical orders of 500 watts or less. Those rules also require all electrical equipment to follow UL standards. That is one show's rulebook; check your own manual before you pack a single fixture.
Every trade show booth lighting plan ends in a power order, and power is sold in blocks. The 2026 Javits service catalog sells 110-volt service in 500-watt blocks, plus 208-volt single-phase and three-phase lines. Advance-order deadlines and discounts are set show by show; ISC East 2026, for example, set its Javits electrical discount date at October 20, 2026.
Build a wattage budget in four steps
- List every lit element: lightboxes, accent strips, product spots, the lit logo, the hanging sign, screens and demo equipment.
- Take each element's rated wattage from its spec sheet, not from a rule of thumb.
- Size LED drivers for the total LED load plus 20%, the driver margin we build to.
- Total the load, round up to the show's order blocks, and assign each circuit to an outlet location on the floor plan.
For early planning, our planning ranges are about 200 to 800 watts for backlit signage and lightbox panels, depending on size, and about 500 to 1,500 watts for an LED strip accent system on a standard activation. Screens and demo gear come from their own spec sheets. Mark every outlet on the fabrication drawings so the power drop lands where the wall's power path starts. Our guide to event power planning covers circuits and distribution in more depth.
When do backlit trade show displays earn their place?
Backlit trade show displays earn their place on the walls attendees see from the aisle. A backlit fabric wall lights the graphic and throws soft light into the booth at the same time, so one element does the job of several separate fixtures. On custom booth walls, it is the light source we plan first.
Even light is a construction problem, not a printing problem. The depth of the frame and the spacing of the LEDs inside it decide whether the face glows evenly or shows bright stripes and dark corners. Our guide to SEG frame depths for lightboxes covers the profiles and how deep each one runs.
The graphic has to be made for backlight too. A file that looks right on a front-lit wall can look washed out when light comes through it. In practice that means dye-sublimated fabric suited to backlighting and a test swatch on a lit box before the full run goes to print. We run backlit fabric printing in that order: swatch, lit check, then production.
A backlit trade show booth also has to be sized for power. Every lightbox goes on the wattage list from the section above. Thermacell's 20 ft x 30 ft island at IBS paired backlit fabric graphics on tension frames with CNC-cut wall panels, and every one of those lit frames needed a place on the power plan.
Why does product look wrong under booth lights?
Product usually looks wrong because the light's color rating hides a weak red. Color rendering index (CRI) is the average of a light's scores on eight standard test colors, and saturated red, called R9, is not one of them, per the US Department of Energy. Red packaging, skin tones, food and cosmetics can look dull under a light with a respectable CRI.
The spread is wide. In US DOE CALiPER testing (Application Summary Report 20, November 2012), lamps rated CRI 80 to 84 had R9 values anywhere from 2 to 44. Two lights with the same CRI on the box can render your red very differently. The DOE's 2019 Lighting R&D Opportunities report (January 2020) treats CRI 80 as the standard level for most white-light uses and notes that moving from CRI 80 to 90 typically costs about 10% in maximum efficacy.
Our practice follows from that. For product and demo lighting we spec CRI 90 or higher, with the R9 value printed on the spec sheet, and we use CRI 80 for general wash light where color accuracy matters less. Pick one color temperature, such as 3000K or 4000K, and hold it across every fixture in the booth. We buy LED strip in matched lots for the same reason; mixing lots shows up as a visible shift where two runs meet. On the Netflix build, the logo's LED output was color-matched to Netflix red under the convention center's mixed lighting, because that is the light it would be judged under.
Lighting a demo counter
Counters are where product gets handled and photographed up close. A top-lit header or an under-shelf strip set in an aluminum channel with a diffuser gives even light with no visible LED dots on glossy packaging. The channel and its cable route get cut into the millwork, as we describe in our guide to custom demo counters.
Can you hang lights over your booth, and who installs them?
Usually only island and peninsula booths may hang signs or overhead lighting, under the IAEE guidelines. Drawings go to the organizer for approval well ahead of move-in; one edition of the IAEE guidelines asks for at least 60 days, and your manual sets the actual date. Show electricians typically connect lighted signs, and rigging labor is a separate order from the show's rigging contractor.
New York Comic Con's 2024 show information for Javits assigns power lines, connections and lighted signs or headers to the show electricians, unless the light is permanently part of the back wall. Plan the hanging sign's power as its own line item: a cable drop from the ceiling, a connection point the electricians can reach, and drivers placed where they can be serviced from a lift.
The structure has to carry its lights. Fixtures, drivers and cable all add to the sign's weight, and the show sets weight limits for anything hung from the ceiling. Thermacell's IBS booth used a custom welded steel canopy structure for its hanging sign, engineered to the show's hanging-sign weight limits and fire code, and the sign was visible from across the hall. We build that kind of frame in house as welded steel sign structures; the load math sits in our guide to rigging and structural engineering.
Why does the booth look worse in photos than in person?
Phone cameras see light differently from the eye. Some dimmed LEDs switch on and off faster than the eye notices, and a phone's rolling shutter records that as dark bands across the frame. Flat overhead light also leaves faces in shadow. Lighting has to be checked on camera, not only in person.
Attendees, press and your own team will shoot the booth on phones, and those photos outlast the show. Three checks cover most of the risk:
- Banding. Record phone video of every lit surface at each dim level the show will use. If bands roll across the frame, change the dim level or the driver before shipping. IEEE 1789-2015 is the recommended practice for limiting LED flicker; ask your supplier how their drivers address it.
- Faces. Put soft front light on the demo and meeting areas, where people stand to be photographed, not only on the graphics.
- Color on screen. Photograph brand colors under the booth's own light and compare them with the brand standard on a phone screen, where most people will see them.
The Celsius pop-up lit for phone cameras in SoHo is the clearest example in our work. Its hero photo moment used integrated LED backlight panels, lighting angles were set for smartphone cameras, and the color palette was tuned for contrast on digital screens. The case study credits that wall with thousands of organic social posts.
How do you make sure the lighting works when the crates open?
Pre-wire every lit element in the shop, assemble the booth with the lights on, test it, then crate it in install order with spares. Installs are measured in hours, so nothing about the lighting should be figured out on the floor. Labeled connections and a written install sequence turn wiring into plugging in.
The pre-wired Keurig launch at Nasdaq shows why. The venue allowed a 12-hour install window. We built every component with pre-wired electrical, labeled connections and a detailed install sequence document, and a crew of 8 took the 3,200 sq ft space from empty to fully dressed overnight, LED-integrated display wall included.
Our shop test runs with the structure assembled and lit:
- Circuit check on every run against the drawing.
- Color check against the brand's specified colors.
- Brightness uniformity across each lightbox and strip, looking for hot spots and dead sections.
- Thermal check under sustained operation.
- Verification of every stored program on the controller that travels with the booth.
Then packing. Drivers and controllers go in their own labeled cases, not loose in a wall crate. Crates are packed in install order so the lit elements come out when the electricians are ready for them. Spare drivers and a spare strip run ride with the booth, because a failed driver on the morning of show open is a parts problem, not a design problem. Our guide to crating and drayage covers how the crates themselves move through the building.
If your lighting plan is still a line item called "lighting TBD", send us the floor plan now. The power order deadline will arrive before the booth does.
What lighting package fits your booth size?
A trade show booth lighting package scales with the footprint and the height limit. Small inline booths light from the back wall and counters; islands light four faces and can add overhead light. The table shows what usually belongs at each size. Size the power with the four-step method above rather than a fixture count.
| Footprint | Typical lit elements | Limits that shape it | Power note |
|---|---|---|---|
| 10x10 or 10x20 inline | Backlit back wall, lit counter, product spots on the back wall | IAEE guideline: 8 ft back wall, 4 ft in the aisle half, no hanging signs; check your manual | Often a small order; check whether the show lets you self-install at that size |
| 20x20 island | Backlit towers or walls on open faces, lit logo, lit counters, overhead light or a lit hanging sign where allowed | Island height limit and hanging-sign rules | Plan where each drop enters; with no back wall, cable routes run through the structure or floor |
| 20x30 island or larger | All of the above plus a meeting room with its own light and screens | Same, plus hanging-sign weight limits | Several circuits; screens often set the total |
How many lights does a 10x10 booth need? Count lit elements, not lights. On a 10x10 inline the list is short: the backlit back wall, the counter and one to three product spots. Take each one's wattage from its spec sheet, add the 20% driver margin and order to the show's blocks. Our 10x20 booth build guide covers the inline layouts those lit elements sit in.
If your booth changes size between shows, the lighting has to change with it. Thermacell's reconfigurable island at IBS, a 20x30 build, was engineered with a connection system that lets it run as a 20x20 island or a 10x20 inline, and the brand deployed the same structure as a 20x20 island at its next show without additional fabrication costs. Plan the lighting the same way: give each lit panel its own driver and connector, so circuits come apart with the walls they belong to.
Get your booth lighting quoted with the build
Lighting priced separately from the structure is where budgets drift. Quote it together and the power paths, mounting points and driver access are in the drawings before anything is cut. For a line-item quote within 48 hours, with lighting itemized, gather:
- The floor plan and your booth number.
- Footprint and booth type: inline, peninsula or island.
- Renders or sketches, at any stage.
- The list of lit elements you want: backlit walls, lit logo, counters, hanging sign, screens.
- The electrical and hanging-sign pages from your exhibitor manual.
Send them through the quote request on our custom trade show fabrication page, or call (800) 670-0462. We come back with the structure, the lighting and the power order sized together. Ask about reusable modular booth frames if the booth has to travel to several shows at different sizes.