Nov 01, 2026 · Pop-Ups & Retail
Modular Pop-Up Shops: One Store Built for Many Stops
How a modular pop-up shop gets engineered to open, strike and reopen: module plans, hardware that survives 15 to 25 install cycles, panels sized to the truck and the door, crew documents, per-stop changes and refurbishment.
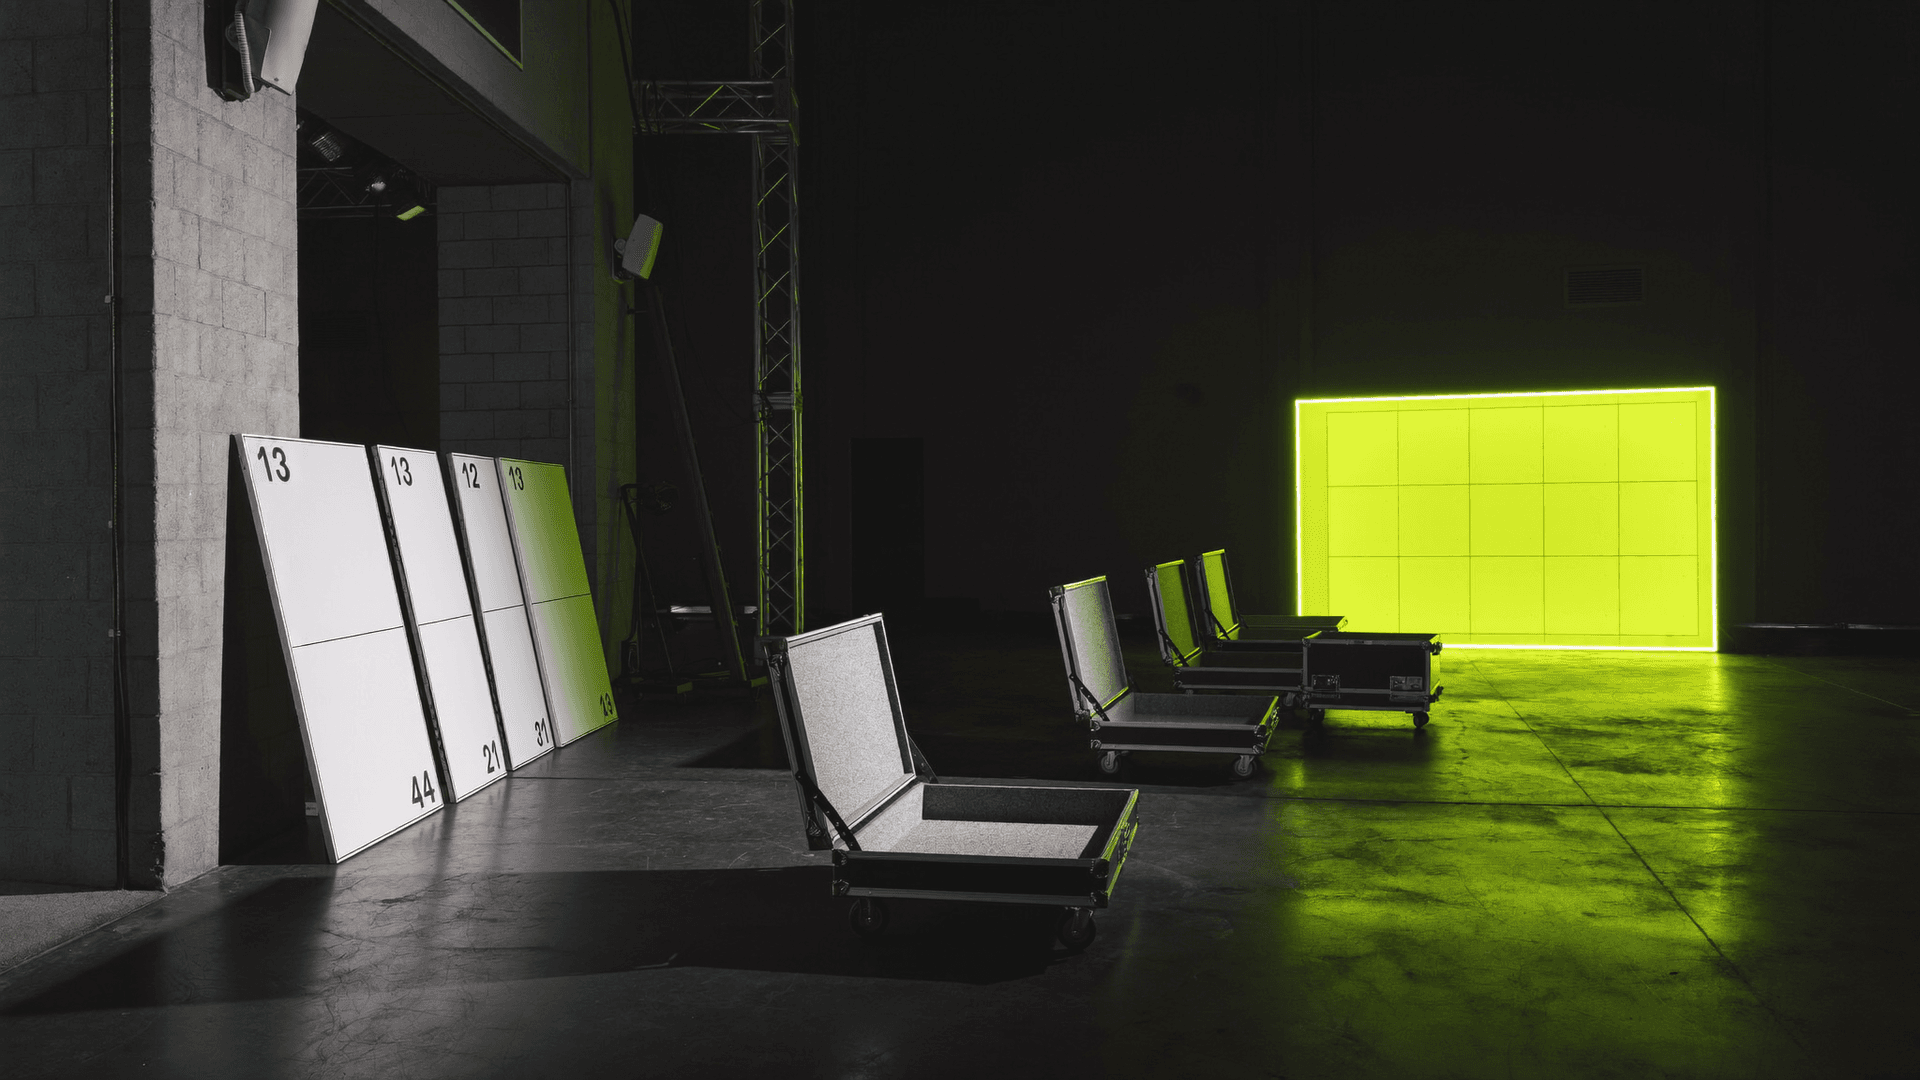
The first pop-up gets built for one room. Then it works. The content performs, the sell-through beats the plan, and the brand wants the same store in Los Angeles next spring, back in SoHo next holiday season, or open for six weekends in six different spaces. A store that was glued, screwed and scribed to one storefront can't do any of that. It comes out in pieces and leaves in a dumpster.
A modular pop-up shop is built the other way around: designed from the first drawing to open, strike and reopen. This guide covers how that gets engineered on our fabrication floor. The module plan, the hardware, panel sizes against the truck door, the documents a new crew builds from, what changes at each stop, and how the store keeps looking new on its twelfth install. It is written from the fabrication side, so cycles are counted and hours are quoted.
What is a modular pop-up shop, and when is touring one worth it?
A modular pop-up shop is a retail environment built from a repeating set of panels, frames and fixtures that a crew can assemble, strike, crate and reassemble at the next stop without new fabrication. The structure is the asset. Graphics, product and layout change around it.
There are three ways to put one concept into more than one space:
- A new build per site. Each space gets its own store, drawn to its own dimensions. The best fit per room, and nothing carries over.
- One modular store that travels. One set of modules, several approved layouts, the same crates every leg.
- A hybrid. A reusable structure and fixture package, with a facade and graphics made for each space.
The grid logic is the same one behind the modular systems we build for trade show programs: a fixed module, standard connections, and a kit of parts that can be laid out more than one way. The difference is that a store carries product, takes customer handling all day and has to read as finished retail, not as a booth.
A mobile pop-up shop often means a trailer or truck conversion: a vehicle that parks and opens. That is a different build. A traveling pop-up shop in the sense used here is a store packed into crates and built inside a space: a white-box storefront, a mall unit, a hotel lobby or an event hall.
Touring a build is not always the right call. If the store opens once with no return season planned, or the spaces are so different that nothing repeats, a single-site build is the better spend, and a fixed-location retail activation build lets every surface be drawn to one room. Designing for reuse costs engineering time up front. That time pays back only if the store opens more than once.
How do you design one store for the smallest and largest space on the schedule?
Design to the smallest confirmed space, not the flagship. The store is split into a core module, the minimum store that has to open at every stop, and expansion modules that get added when the room allows.
| Module | Typical contents | Ships to |
|---|---|---|
| Core | Entry statement, hero wall, primary product display, cash wrap | Every stop |
| Expansion A | Second display bay, extra wall run | Mid-size and large spaces |
| Expansion B | Photo moment, lounge or demo zone, fitting room | Largest spaces only |
Each combination of modules is drawn as an approved configuration and documented in the assembly guide, so nobody improvises a layout on install day. On our touring pop-up builds, the production team recommends a configuration for each venue from the site survey or floor plan the local team sends. Configuration flexibility is designed into the structural grid; it is not something a crew should invent on site.
That only works if every stop sends the same information before panel sizes and layouts are locked. Set a site-survey minimum:
- Clear width, depth and ceiling height, with columns and soffits marked
- Storefront door, freight elevator and corridor dimensions along the actual load-in path
- Available power: number of circuits and where the panel sits
- Floor finish and condition, and whether it needs protection board
- Landlord or venue rules on attachment and install hours
The full venue checklist, from storefront to merchandising flow, is in our pop-up shop design guide. For a store that travels, the point is consistency: the same questions answered for every space, early enough to change the plan.
What hardware and finishes survive 15 to 25 install cycles?
One stop is one cycle: an assembly and a strike. The touring builds page linked above publishes the targets we design to. A well-engineered touring build withstands 15 to 25 cycles before it needs significant refurbishment, and scenic surfaces and painted finishes show wear after 10 to 15 cycles. The same page rates the structural aluminum and steel as lasting indefinitely, so the frame is rarely what fails. Everything between those numbers comes down to how each part was specified.
| Component | One-time build | Touring build | Why it matters on the road |
|---|---|---|---|
| Joints | Screws into plywood edge grain, glue | Quick-connect hardware rated for repeated cycling; threaded inserts and bolts | Screw holes strip after a few cycles; inserts don't |
| Finishes | Standard scenic paint | Impact-resistant coatings | Edges and corners take the hits during packing |
| Fasteners | Loose hardware bags | Captive hardware plus a spare parts kit in the crate | Lost bolts stop an install |
| Graphics | Applied directly to the build | Replaceable skins on frames | Messaging changes without touching structure |
| Structure | Wood framing sized for one install | Aluminum or steel framing | The frame outlives several sets of skins |
The rule we use for joints: anywhere a connection will be opened more than twice, it gets a threaded insert and a bolt, not a screw. A modular retail display follows the same logic. A gondola, plinth or wall bay is detailed as a knock-down assembly with separate tops and bases, cam-lock or bolt-and-barrel joinery, and leveling feet instead of shims, because every floor on the schedule is out of level differently.
Single-site temporary work shares a lot of this: freestanding walls, ballasted bases and nothing fixed to the landlord's building. We cover those details in building retail that is designed to leave, and the display types themselves in our guide to pop-up shop fixtures. A touring store adds one requirement on top: every joint has to survive being opened again and again, not just once.
How big can a panel be? Designing to the truck and the door
Panel size is set by the smallest opening the panel has to pass through, and that is usually the venue, not the truck. Still, the truck is the first box. A 53-foot dry van is about 101 in. wide inside, with a rear door opening of about 110.5 in. high, per Utility Trailer's 4000D-X specification. Wabash lists its DuraPlate van at 101 in. wide with 110.25 to 111.25 in. of inside height. Those are typical figures, not a promise for every trailer, so the carrier confirms before crates are sized.
In practice, a 96 in. panel standing on edge clears a 110.5 in. door with about 14 in. left for the crate base or dolly under it. A 120 in. panel does not, so it either lies flat, which wastes floor, or gets split. Splitting is usually the right answer, because the next constraint is tighter: the storefront door, the freight elevator cab and the turn in the back corridor. The rule from our single-site work applies here at every stop on the list. Panel sizes come from the loading path, not from getting the best yield out of a sheet. Measure every stop, find the smallest door, and size to that.
Packing gets drawn alongside the build, not improvised at the end. Touring components are dimensioned to standard truck and freight configurations, packed in nested systems and road cases, and crated in assembly sequence, so the first crate off the truck holds the first parts to go up. More on freight classes, crate construction and handling charges is in our guide to crating and freight.
The method comes straight from our trade show work. On the reconfigurable Thermacell exhibit for IBS, the booth was pre-assembled in our NYC shop, broken down into labeled crates, shipped across the country and installed inside an 8-hour window with local union labor. Its connection system reconfigures to a 20x20 or a 10x20, and the next show used the same structure as a 20x20 with no added fabrication. A booth is not a store, but the crating and reconfiguration logic transfers directly.
How does a different crew build the same store at every stop?
With documents that make the original foreman unnecessary. Every touring build ships with a step-by-step assembly guide, numbered components, color-coded connection points and photographic references, plus field repair documentation. Together they let a crew in another city build the store without prior experience of that build. The fabrication drawings and assembly documents are produced alongside the shop drawings, with one numbering scheme across panels, crates and the install drawing.
Before the first stop, the complete store goes through a prototype cycle in our NYC shop: assembled, inspected, documented, disassembled, packed and reassembled. That second assembly is the test. A crate that won't close, a sequence that buries a connection behind a finished panel, or a step that needs a tool nobody packed shows up on the shop floor instead of on opening morning.
| Build size | Assembly | Strike | Crew |
|---|---|---|---|
| Standard touring pop-up | 4 to 8 hours | 2 to 4 hours | 2 to 4 people |
| Multi-zone environment | 8 to 12 hours | Set during design | Set during design |
Those times come from the same touring builds service page and are validated on each build during the prototype cycle. They assume the space is clear, power is live and the floor plan matches the survey.
Shop pre-assembly is the step everything depends on, touring or not. The Celsius pop-up in SoHo was a single-site job: 1,800 sq ft in a raw white-box storefront with limited electrical capacity and tight load-in access. It was pre-assembled in our NYC shop, with wiring harnesses built and tested before it left, then installed over three days by the same crew that built it. A touring store runs that same step once, then repeats the install many times from the documents.
Already have a pop-up that worked? Send us its drawings or photos and we will tell you which parts can travel and which need rebuilding.
What changes at each stop: graphics, product and local rules?
The structure stays the same. Graphics, product and paperwork usually don't. Interchangeable graphic panels carry market-specific messaging or product features at each stop, and graphic panels printed in-house mean a new set can be produced from templates on file instead of from a new design. Where the frames match our modular booth system, a graphic refresh from templates on file ships in 5 to 7 business days, the turnaround quoted on that system's service page.
| Item | Changes per stop? | Who owns it |
|---|---|---|
| Structure and modules | No | Fabricator |
| Configuration | Sometimes, from the approved set | Fabricator, from the site survey |
| Graphics | Often | Brand approves, fabricator prints |
| Product and merchandising | Often | Brand |
| Power plan | Every stop | Fabricator, from the venue's available circuits |
| Fire paperwork | Every jurisdiction | Fabricator supplies certificates; venue and fire official decide |
| Restoration terms | Every stop | Brand, under its agreement with the landlord |
Fire paperwork is the item brands most often assume will carry over unchanged. It doesn't, because New York and California certify flame-resistant materials differently.
| New York City | California and Los Angeles | |
|---|---|---|
| Standard | Decorations that must be flame resistant meet NFPA 701 | Decorative materials must be noncombustible or treated with a flame retardant approved by the State Fire Marshal |
| Who certifies | A holder of an FDNY Certificate of Fitness for flame-retardant treatment (C-15); treatment is done by or under a C-15 holder | Flame-retardant chemicals, fabrics and applicators are registered under Title 19, California Code of Regulations, Division 1, Chapter 8 |
| Occupancies named | FDNY lists Group M (mercantile) among occupancies that need flame-resistant decorations | 2022 California Fire Code section 807.2 applies to assembly and other listed occupancies; Group M is not in that list |
| Sources | NYC Business, C-15 description; NYC Fire Code chapter 8, sections 801.7 and 805 | Office of the State Fire Marshal, flame-retardant chemicals and fabrics page; 2022 CFC 807.2 |
The practical answer for a bicoastal schedule: the store carries both sets of documents. That means NFPA 701 test reports or C-15 certification for New York, and State Fire Marshal registration for the fabrics used in California. The OSFM also says its authority covers places of public assembly and trade show display equipment. Whether a given retail storefront needs any of it depends on how the space is classified, so confirm with the venue and the local fire inspector before the store ships. Our guide to NYC permits and fire code covers the New York side in detail.
How do you refurbish between stops and keep the store looking new?
Every strike ends with the same four steps: inspect, photograph damage, pack to the crate manifest, refill the touch-up kit. The touch-up kit is specified by paint name and quantity and lives in the crate, not in an email thread. A maintenance schedule ships with each touring build and names the expected wear points and refurbishment intervals, so the brand knows when the work is due before it shows on camera.
The intervals follow the cycle counts above. Scenic surfaces get touch-up or a new skin at around 10 to 15 cycles. Full refurbishment comes at 15 to 25 cycles, depending on how carefully the store was packed and moved. Frames rarely need anything beyond inspection.
Schedule the gaps, too. Our pop-up shop design guide recommends transit time plus one to two buffer days between markets, so one late truck doesn't push back every opening after it. If the store sits between legs or between seasons, it needs a plan for storage and reuse between seasons: climate for any wood or upholstered parts, crates stored in pull order, and an inventory checked against the manifest.
At Pop Up Your Brand we draw the strike before we draw the build, because the strike is the part of the job with no second chance.
On a touring store that line matters more than anywhere else. Each strike is also the start of the next install, and a panel packed wet or a fastener left loose becomes the next crew's problem. Our guide to strike and load-out covers sequencing and floor protection on the way out.
How long does a touring build take, and what drives the cost?
Our pop-up service page quotes 4 to 8 weeks (20 to 40 business days) for a retail-quality pop-up. A touring store adds the shop prototype cycle before the first stop, so plan from the long end of that range. Our breakdown of the six-week pop-up timeline shows where those weeks go on a single-site job, and the same sequence applies here with the prototype added at the end.
Speed on a fixed site shows what fixtures engineered for fast assembly make possible. The Primark holiday pop-up near Herald Square was 2,400 sq ft, designed, built and installed in six weeks including Thanksgiving. Its fixtures were built to retail standards, with weight-bearing shelves, durable finishes and stable bases, and engineered for rapid assembly so the whole store went in overnight. That was one location, but the fixture approach is the same one a touring store relies on.
What moves the price on a touring build:
- Number of approved configurations. Each one is drawn, documented and checked against the module set.
- Finish level. Impact-resistant coatings and replaceable skins cost more than one-time scenic paint.
- Hardware and crating. Road-rated connections, road cases and sequence-labeled crates.
- The prototype cycle. Shop time to build, strike, pack and rebuild before stop one.
- Graphics sets. One set per market, or one set refreshed partway through.
- Install labor. Our crew traveling to each stop, or local crews working from the assembly guide.
Projects in our shop start at $25,000. Every touring build gets a line-item quote, so the cost of each of those drivers is visible before anything is cut.
Plan your touring pop-up
Send us the plan as it stands today, even if half of it is still a spreadsheet:
- The stop list with dates
- The smallest and largest spaces, with floor plans or photos
- Door and freight elevator sizes where you have them
- What has to change per stop: graphics, product, layout
- Power needs, such as screens or refrigeration
- Who installs: our crew or local crews
- Where the store lives between legs
Within 48 hours, the same quote turnaround listed on our service pages, you get a module plan, a crate list and a line-item quote. Our pop-up shop design and fabrication team builds in our NYC shop and installs in New York City; for West Coast stops, see how we handle installs in Los Angeles. Projects start at $25,000. Prefer to talk it through? Call (800) 670-0462.